The second day of the Quilotoa Loop involves hiking from Isinlivi to Chugchilan. I found it to be a bit harder than day one, but it’s still pretty manageable. Like every other day on this trail, you’ll hike down to the valley before ascending to an even higher elevation in the mountains of Ecuador.
Here’s what to expect on your hike from Isinlivi to Chugchilan.
What is the Quilotoa Loop
The Quilotoa Loop is a series of hiking trails connecting small towns in central Ecuador. It’s a popular trip for hikers visiting the country because it offers phenomenal views and a rewarding multi day trek.
Unlike many treks in South America, the Quilotoa Loop is unguided and you can travel at your own pace. You decide how many days you want to hike and where you would like to stay each night.
Traditionally, most hikers choose three days as they hike from Sigchos to Quilotoa, stopping in Isinlivi and Chugchilan along the way.
Hiking Isinlivi to Chugchilan
The most important thing to note about the hike from Isinlivi to Chugchilan is that there are multiple routes. I highly recommend talking to the staff at your hotel to get their advice before starting off.
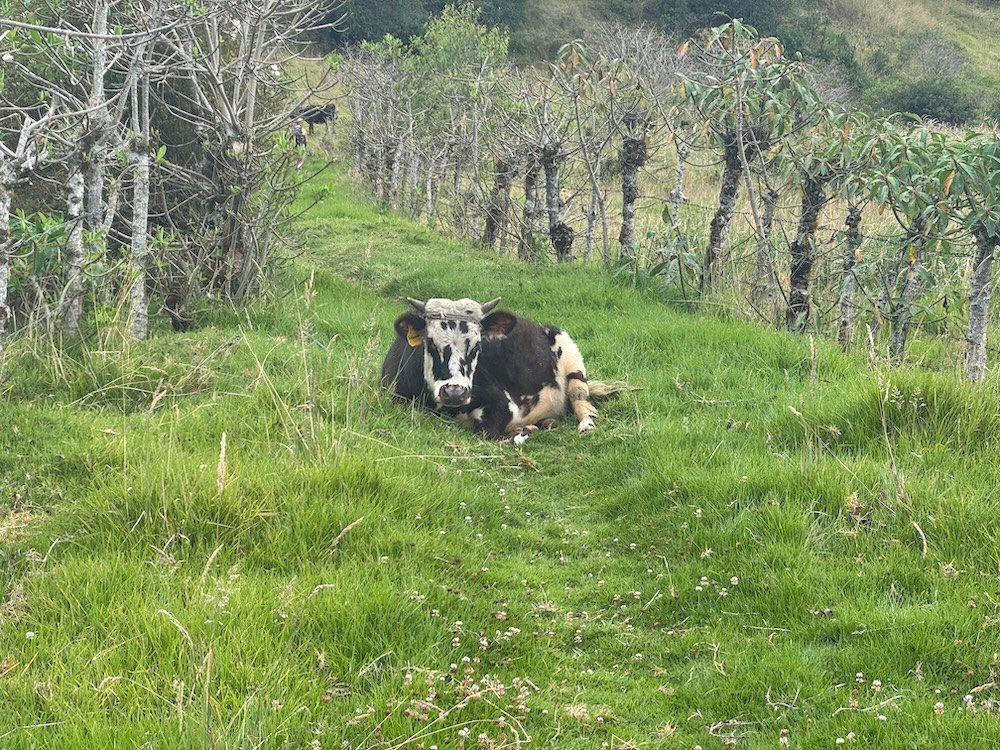
The trail starts off just like any other trail. You’ll pass by Llullu Llama and hike along the grass. It’s a proper trail at this point, not a road, so it can be a nice way to start your day. Keep an eye out though as pretty early on (at mile 0.2/kilometer 0.3), you’ll take another one of those routes through a field that is so easy to miss. So long as you make this turn, you’re in good shape.
Keep hiking until you reach a concrete bridge, regardless of what you see on your maps. Once at the bridge (about 0.6 miles/1 kilometer into your hike), you’ll want to cross it. Shortly after this bridge, you’ll climb up a small hill and you’ll notice a sign that points and says “Chugchilan Safe Route”. I don’t know about you, but if a local is telling me to take the safe route, I’m going to take it.
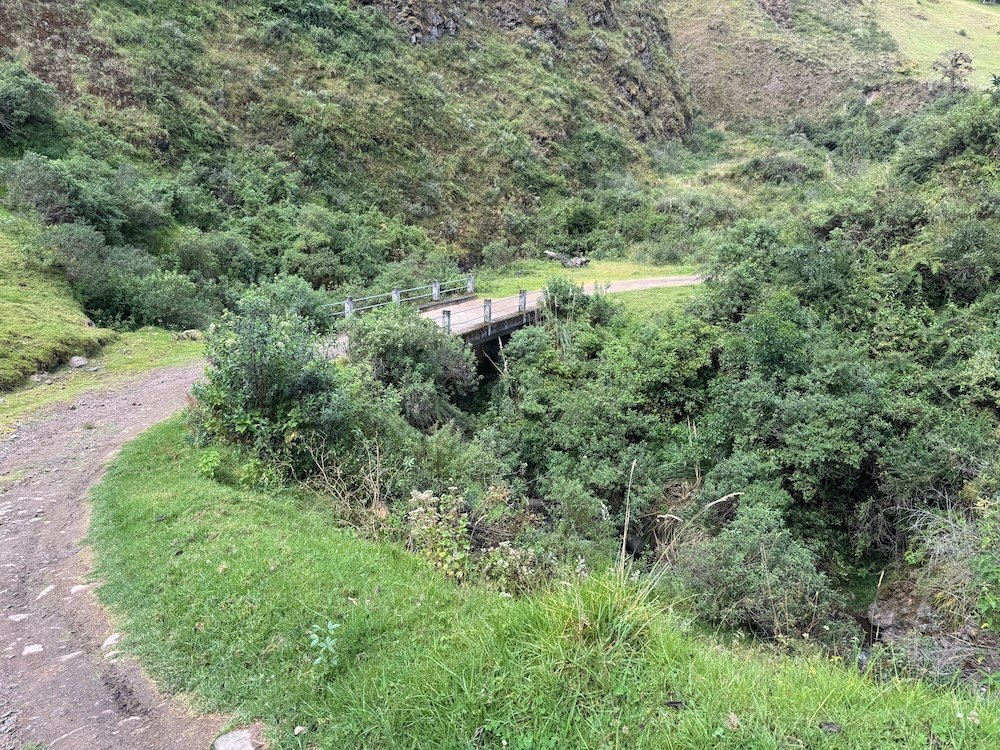
If you follow the route in AllTrails, you won’t see this sign. The route in AllTrails leads you down to the river and recent comments (when I hiked this trail) stated that the trail had been washed away and didn’t exist as shown on the app. So, commenters mentioned that they had to get creative with the trail. By going the route I did (across the concrete bridge), you’ll be able to take the safe route and be able to follow a well marked route that actually exists.
From the start of your hike to the concrete bridge, it’s been a steady downhill, but after the bridge, you’ll get your first taste of the uphill for the day. You’re going to be following a road for the next 1.5 miles (2.4 kilometers). Is it the most exciting trail? No, but at least it’s a more gradual uphill that feels completely doable.
At about mile 2.2 (kilometer 3.5), there’s a fork in the road. Skip the road and follow the actual trail. You’ll work your way along Ecuadorian Flat and eventually even more downhill. The Ecuadorian Flat is very manageable but the downhill can be incredibly steep. I was hiking with a Dutch girl at this point and both of us commented on how we were so glad we weren’t doing this section uphill (aka, doing the Quilotoa Reverse Route).
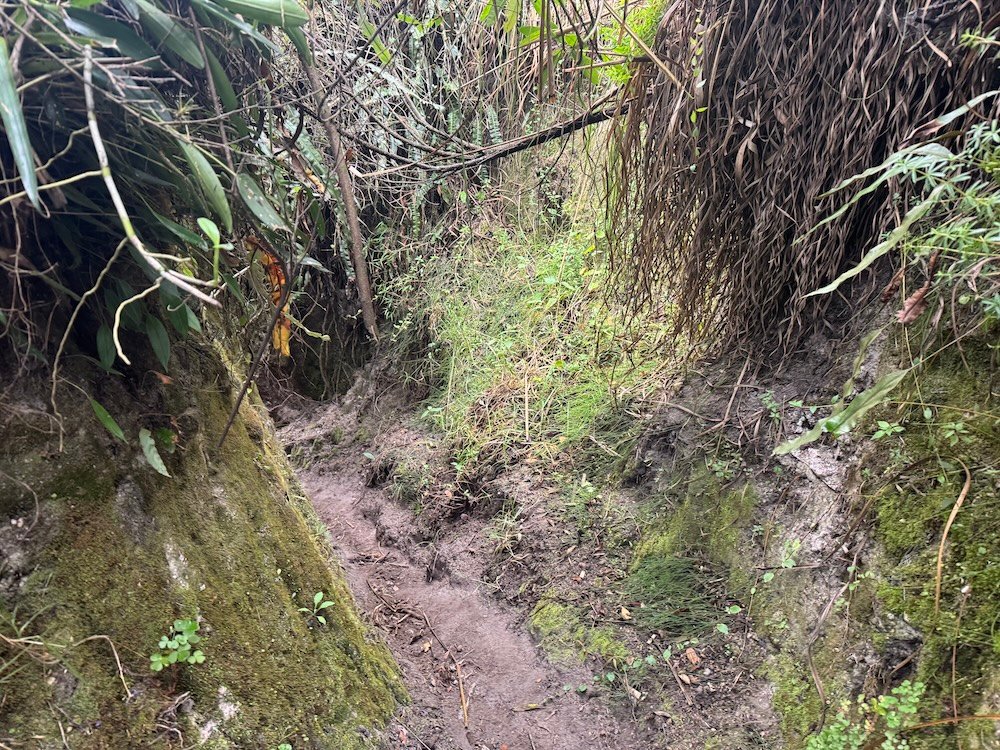
You’ll know you’re at the bottom and done with the downhill section when you finally reach the river. Even though I took the safe route to Chugchilan, it still takes you all the way down to the river. It just takes a slightly different route. If you didn’t hike the safe route and instead tried to follow the “proper” trail, both paths meet up here.
If you come across barbed wire, follow it down to the river. There is a path that goes around the barbed wire fence to allow you to cross the suspension bridge without having to crawl through any wire.
By now, you’ve hiked about 3.9 miles (6.3 kilometers), meaning that you’re halfway through the trail. The only bad news about that is the second half of the trail has all of the elevation gain.
Cross the suspension bridge and keep walking straight until you reach the road. Turn left and follow it all the way to the town of Itualo. It’s about one mile from the bridge to the town of Itualo. While you’ll gain a little bit of elevation, it’s not enough to make a big dent in your climb later.
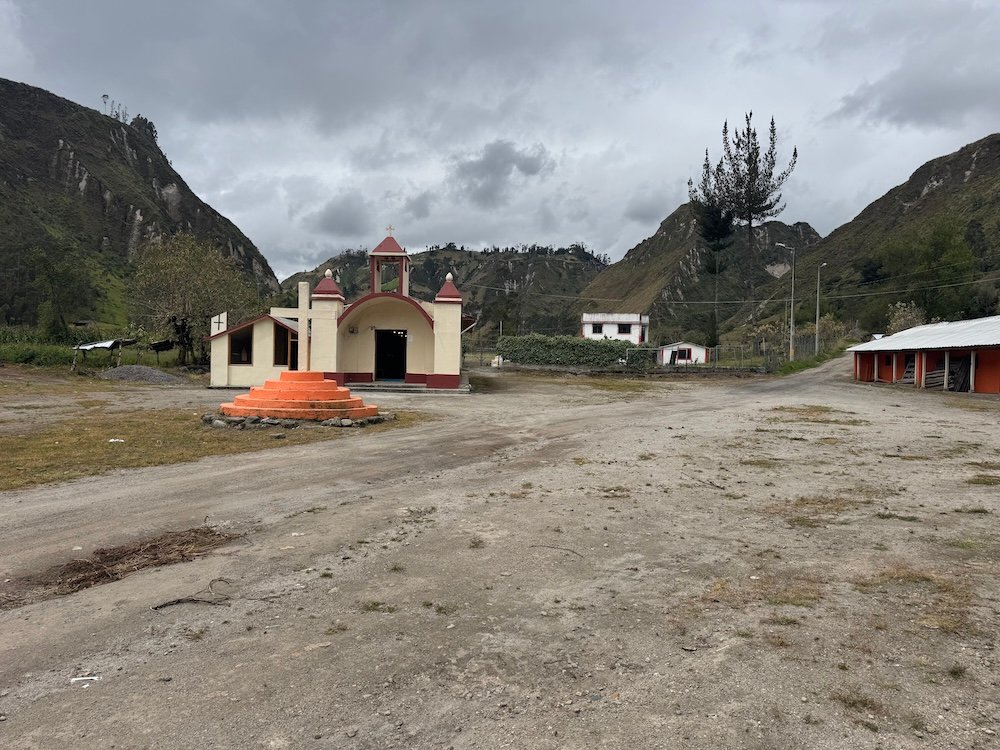
Despite being a town, there’s not much here, but it’s a place where you’ll need to make another decision. In town, you can either turn right and follow a trail straight up a mountain. This first route is slightly shorter and steeper, but you get the big climb out of the way first and finish with a long road walk. The other route is to keep walking past the church. This second route is slightly longer and slightly less steep and has a shorter road walk. Both routes end at the same place so you’ll get the same amount of elevation regardless of which route you take.
Normally, I’m all about longer and less steep, but at the advice of the staff at Llullu Llama Hostel in Isinlivi, I took route 1 (the shorter and steeper trail). I was told that this route was better signposted, but also that it had better views. So, despite hating really steep trails, I turned right and started hiking up. After about 0.7 miles (1.1 kilometers) and what feels like endless steep switchbacks, I reached the road.
Hallelujah. The hardest climb of the day was complete. Plus, here you have the option to take a slight detour and walk out to a mirador. The mirador was nice, but I didn’t stay for long. The clouds seemed to be getting darker and I really did not want to get caught hiking in the rain.
I followed a mix of trail and road for the next half mile and was frustrated to learn that I wasn’t quite done with the uphills. There was one more section of switchbacks before I could finally be done with the steep uphills. The switchbacks ended with another mirador. I still wasn’t a fan of the clouds, so I didn’t linger and pushed on into Chugchilan.
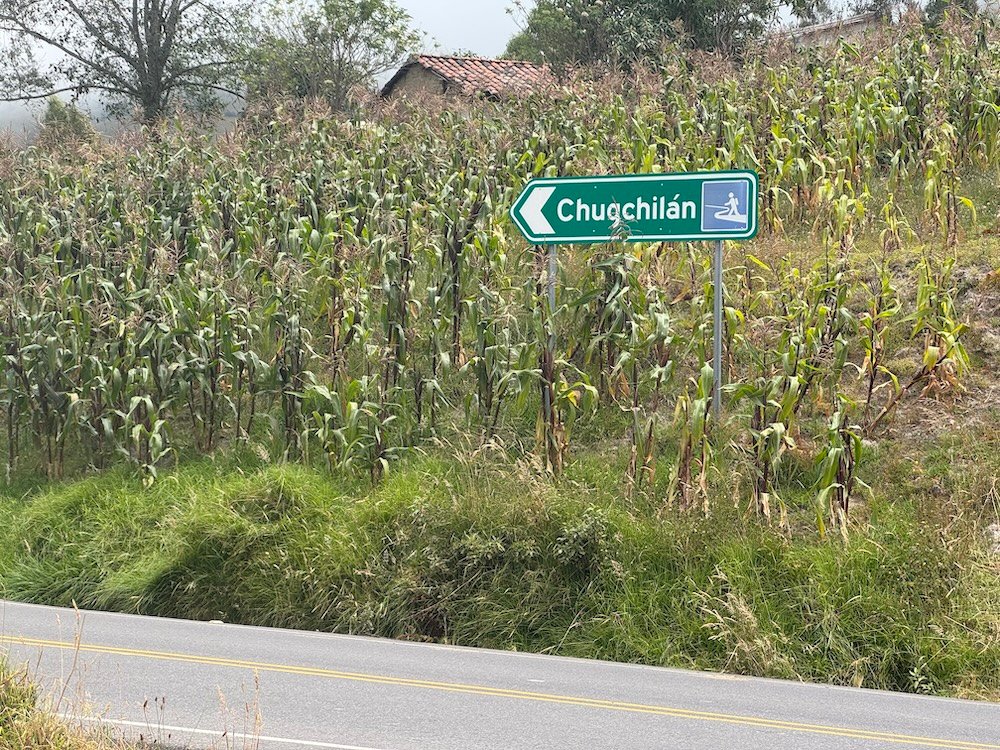
My last 1.75 miles (2.8 kilometers) were completely along the road. Was it fun? Not particularly, especially since it did start raining on my final stretch, but at least the terrain was easy. As I kept walking toward town, I eventually passed the trail that other hikers used (if you go straight at the church in Itualo). They have significantly less road walking at the end of their trail (though everyone has to do some road walking).
The other important thing to note is that the road is at a slight incline, so you’ll be gaining some elevation all the way until your hotel in Chugchilan.
Unlike in Isinlivi, there are numerous hotels and hostels in Chugchilan and everyone seems to spread out. Therefore, your exact hiking stats for days two and three are more likely to vary. I’d recommend trying to walk as far as you can on day 2. Anything you do today is trail that you don’t have to do tomorrow. Since Chugchilan to Quilotoa is the longest and hardest day, I’d try to chose accommodation that’s further into town.
Once you arrive, settle in, grab some lunch, and relax.
Total Hiking Stats
Distance: 7.85 miles (12.6 kilometers)
Elevation Gain: 2,579 feet (786 meters)
Elevation Loss: 1,778 feet (542 meters)
Lowest Point: 8,797 feet (2,681 meters)
Highest Point: 10,497 feet (3,200 meters)
Total Time: 4 hours 10 minutes (including a few very short breaks)
Lodging in Chugchilan
Chugchilan is much larger than Isinlivi so hikers tend to spread out through the various accommodations offered. I stayed at Lagoon Hotel which was a basic hotel, but still included dinner and breakfast. This is not the only option though.
My biggest recommendation is to look at a map when selecting your accommodation. Try to find a place that’s toward the center of Chugchilan (or even a bit further beyond like Hostal El Vaquero). The longer you walk on day 2 means less walking for day 3. Since day 3 is already the hardest and longest day, I say it’s a great idea to do as much as you can on day 2.
Food in Chugchilan
Your accommodation should include dinner for the night of your stay as well as breakfast the next morning. If not, there are a few restaurants in the town of Chugchilan. My hotel also had a restaurant that offered a basic $5 lunch.
Final Thoughts
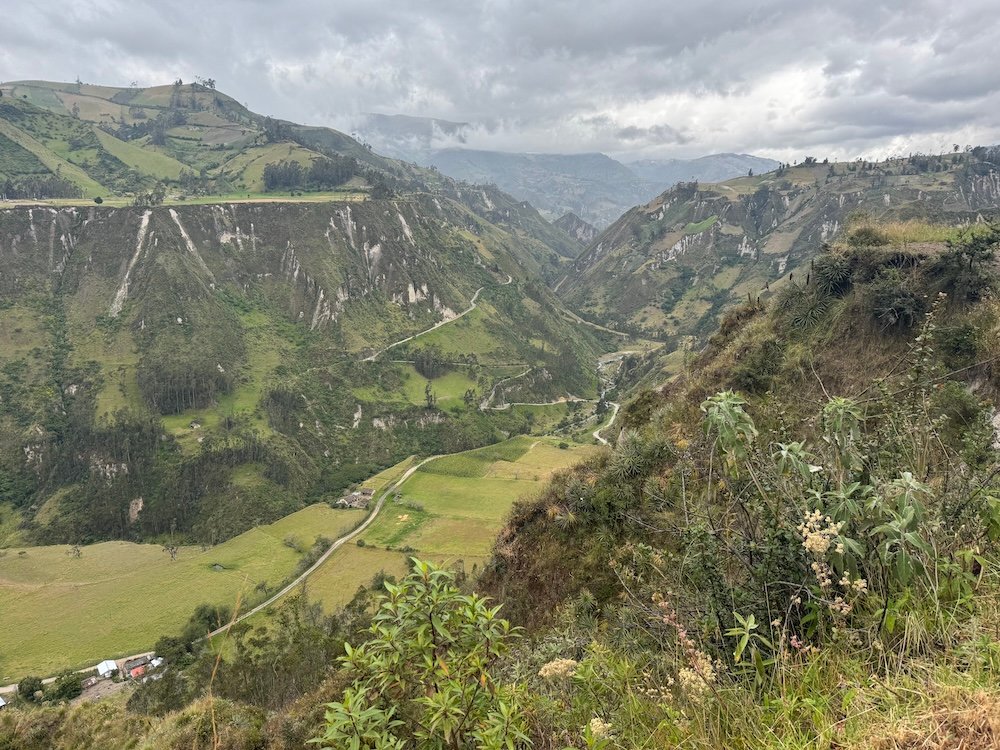
Today’s hike from Isinlivi to Chugchilan is likely a bit more difficult than day 1. It’s slightly longer and there’s some steeper climbs, but I think it’s still a manageable hike and offers some incredible views of the surrounding mountains.
Continue Your Adventure
Quilotoa Loop: The Quilotoa Loop is a three day hike. Day 1 is Sigchos to Isinlivi. Day 2 is Isinlivi to Chugchilan. Day 3 is Chugchilan to Quilotoa.
Ecuador: Spend one day in Quito, Ecuador’s capital city. From here you can visit Mitad del Mundo to visit the equator, take a day trip to Otavalo, or take a day trip to hike to Cotopaxi Base Camp. Visit Mindo and hike at the Tarabita Waterfalls. Baños is an adventure town, but I recommend a jungle tour. Don’t forget Cuenca, which I think is one of the prettiest towns in South America. Learn even more in my Ecuador Travel Guide.
Multi-Day Treks in South America: In Peru, you’ll find so many multi-day treks including the 4 Day Inca Trail and the 2 Day Colca Canyon. In Colombia, you can hike the 4 Day Lost City Trek.