
Located two hours away from Sofia, Bulgaria, the Rila Lakes are a stunning slice of nature. These lakes were formed by glaciers and now sit nestled in the mountains, providing a fantastic backdrop. Hiking at these lakes is a very popular day trip from Sofia and as someone who enjoys hiking, I eagerly signed up for the trip.
Here’s everything you need to know about hiking the 7 Rila Lakes.
Hiking the 7 Rila Lakes
This is all based off my own experience at the Rila Lakes. I took a day trip from Sofia, Bulgaria where we visited the Rila Lakes in the morning and the Rila Monastery in the afternoon. I’ll talk more about the day trip logistics later in this post. For now, I just want to focus on the hike of the 7 Rila Lakes.
Chairlift to the Trailhead
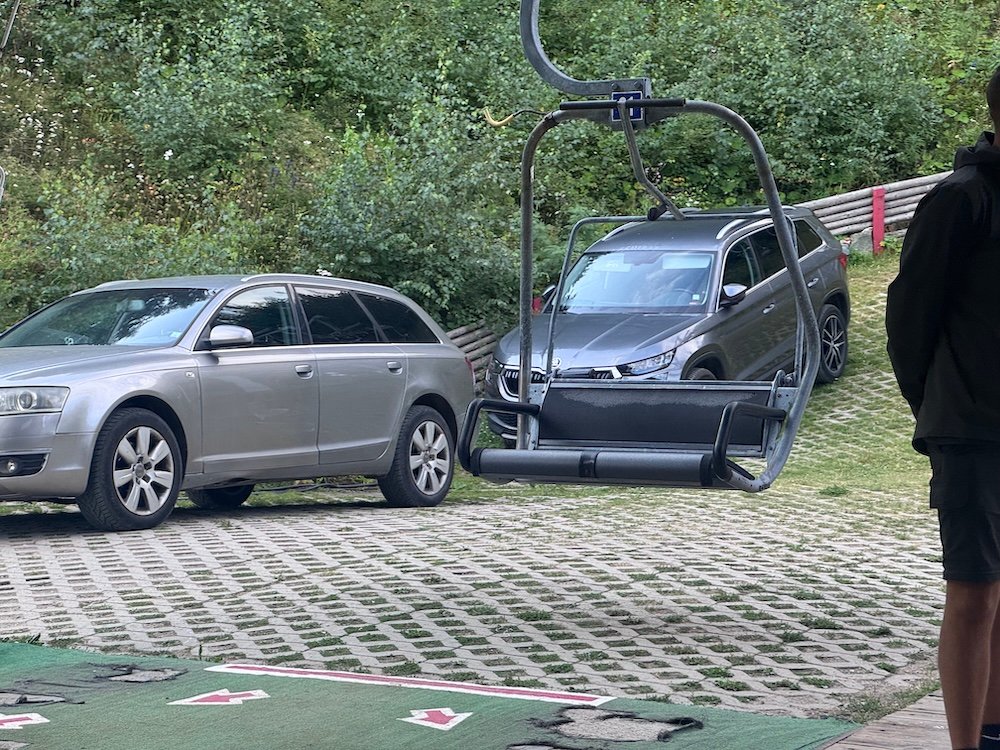
Before you can really start your hike of the 7 Rila Lakes, you need to get to the trailhead. There are two ways to do this. The first is to hike up from the parking area. The second option is to take the chairlift.
The chairlift costs 11 euros one way or 16 euros for a return trip. Our tour guide had us buy return tickets, which is what I would recommend to anyone hiking this trail. Sure, you could hike up and down for free, but the trail to the trailhead is a steep two mile trail (3.2 kilometers) with nearly 1,700 feet (over 500 meters) of elevation change. Plus the terrain is rocky and slippery, so I don’t recommend this hike if you can avoid it.
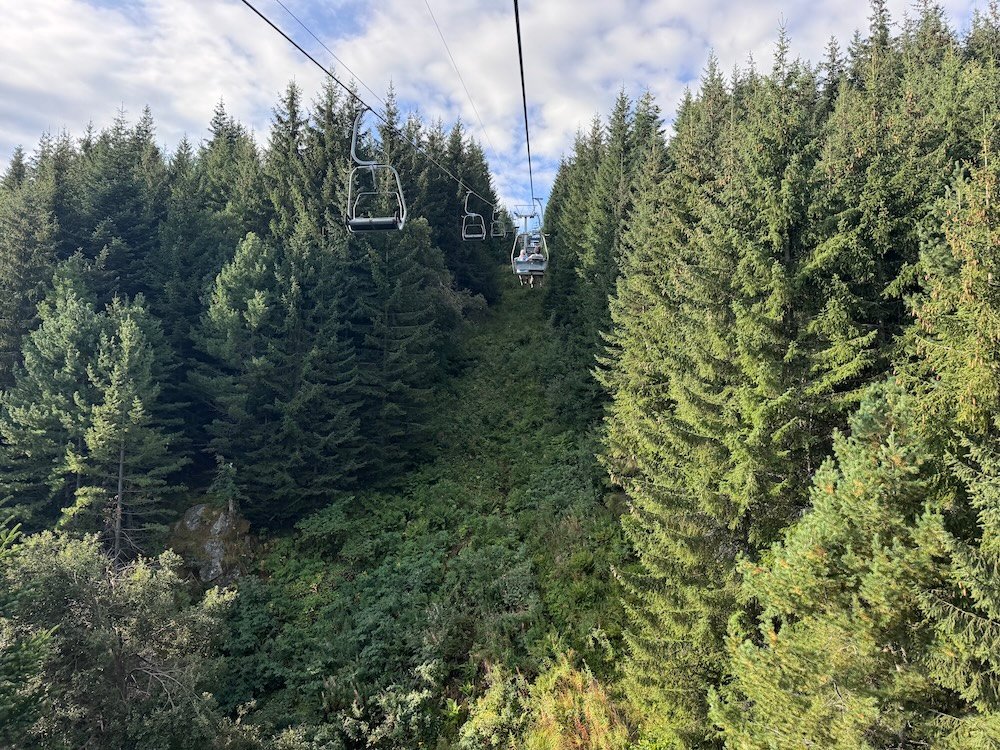
The ride on the chairlift takes about 30 minutes, so make sure you allow enough time. In addition, the line for the chairlift can get long. I’ve read stories of people waiting over an hour for the chairlift. Thankfully, it wasn’t bad for me. We arrived at about 8:45 and the only line at the ticket office and chair lift was our tour bus. I was the first in line and was able to buy my ticket and go right to the chairlift.
Should You Hike Clockwise or Counterclockwise?
You can hike the 7 Rila Lakes in a loop (though you could hike as an out and back as well), so should you hike clockwise or counterclockwise? Honestly, I don’t think it matters too much and you can go either direction and still have a good time.
I chose to hike counterclockwise because I was following the route on AllTrails. This is what AllTrails had listed and what many people seemed to do, so it’s the route I took. However, my guide led the group clockwise.
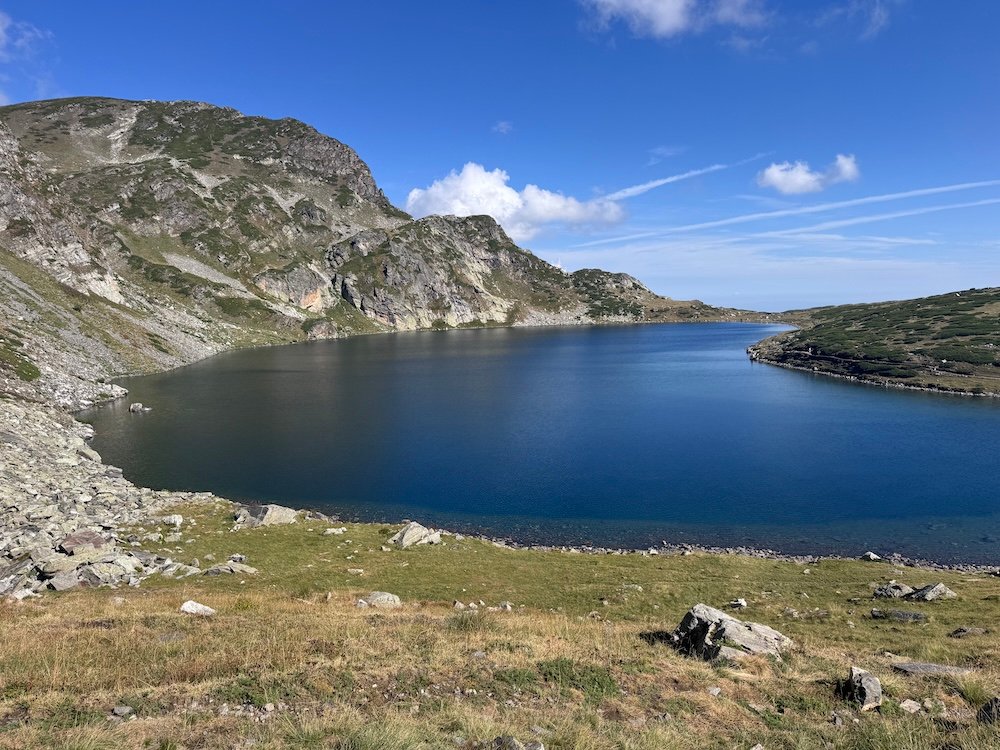
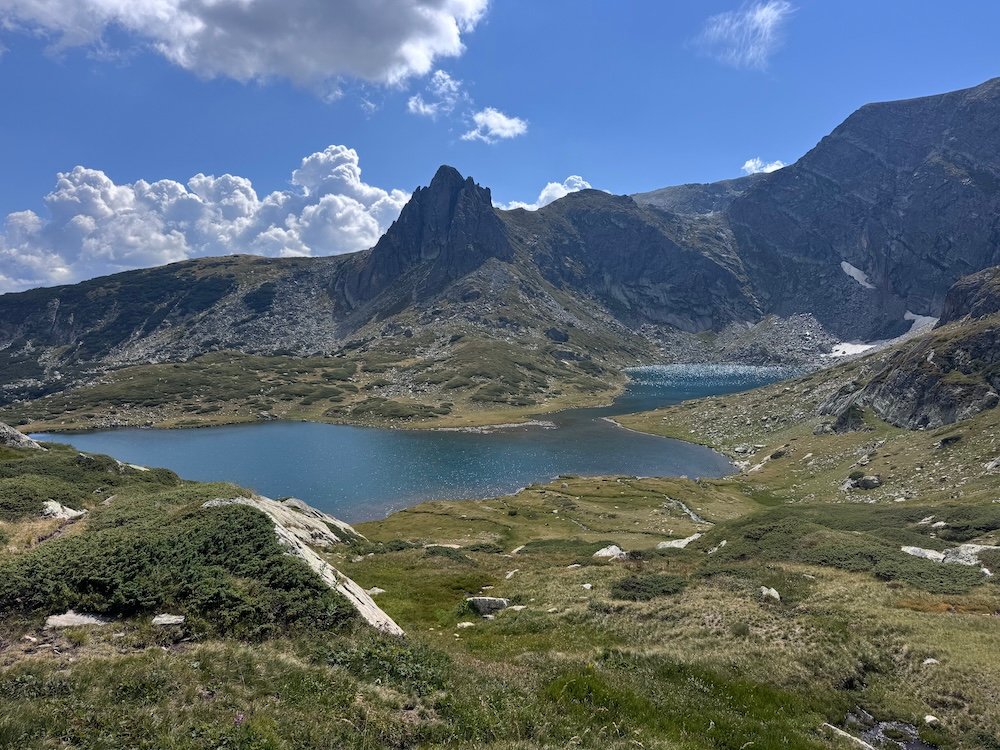
The big difference is which order you’ll see the lakes. If you hike counterclockwise, the first lake you’ll reach is the Kidney Lake. In my opinion, this is the most impressive lake, so you’ll reach it first, but you’ll pass the rest of the lakes later in your hike. If you hike clockwise, you’ll pass the other lakes before reaching Kidney Lake. The good news is that for clockwise hikers, Kidney Lake is your finale, but then you’ll be hiking the rest of the trail without any lakes.
Like I said earlier, I don’t think it matters which direction you hike. However, since I hiked counterclockwise, that’s the way this post is set up.
Trailhead to Kidney Lake
From the top of the chairlift there is a small hut that sells snacks and drinks. There is also a toilet, but it costs 50 cents to use. Stock up on any snacks and use the toilet and then it’s time to begin your hike.
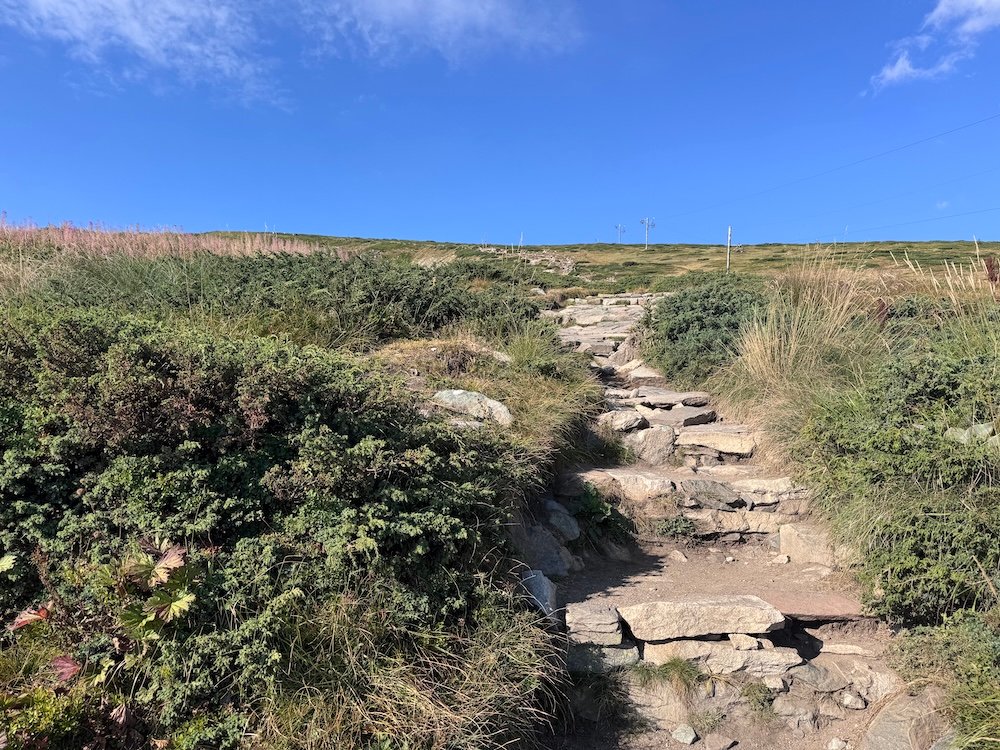
The trail wastes no time gaining elevation and the first mile of the hike just feels like one steady, never-ending up hill. It’s steep and it can feel challenging since the air here is thinner. Remember, you’re starting at 6,900 feet (2,100 meters) of elevation. The good news is that once you have this first stretch behind you, the trail flattens a bit and becomes easier. So just keep pushing for the first 30 minutes.
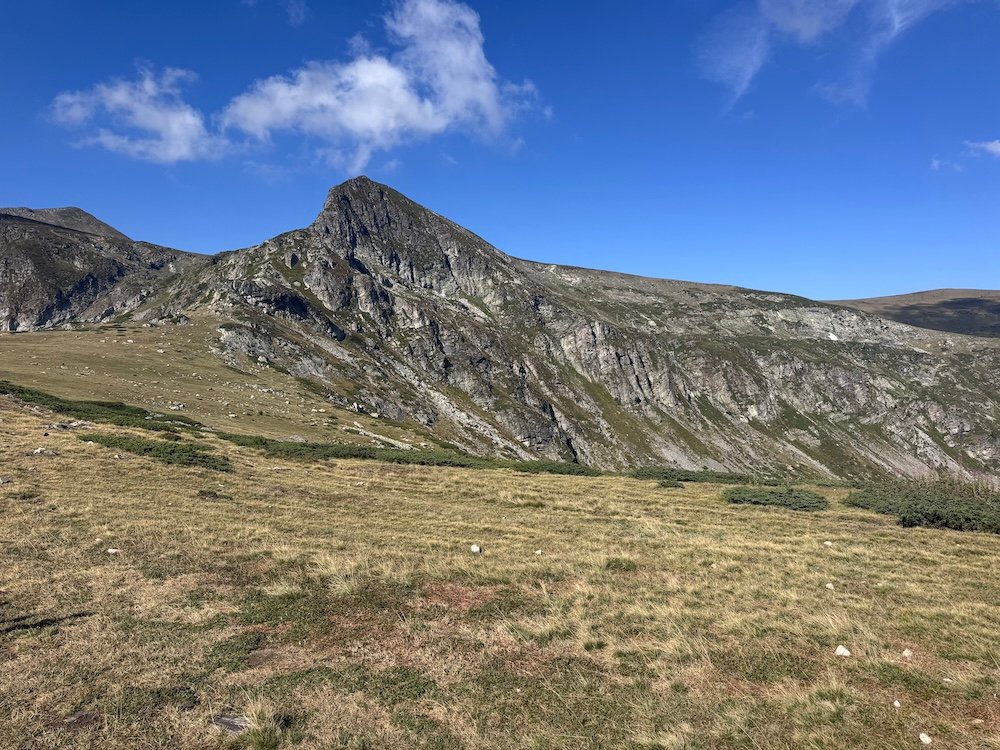
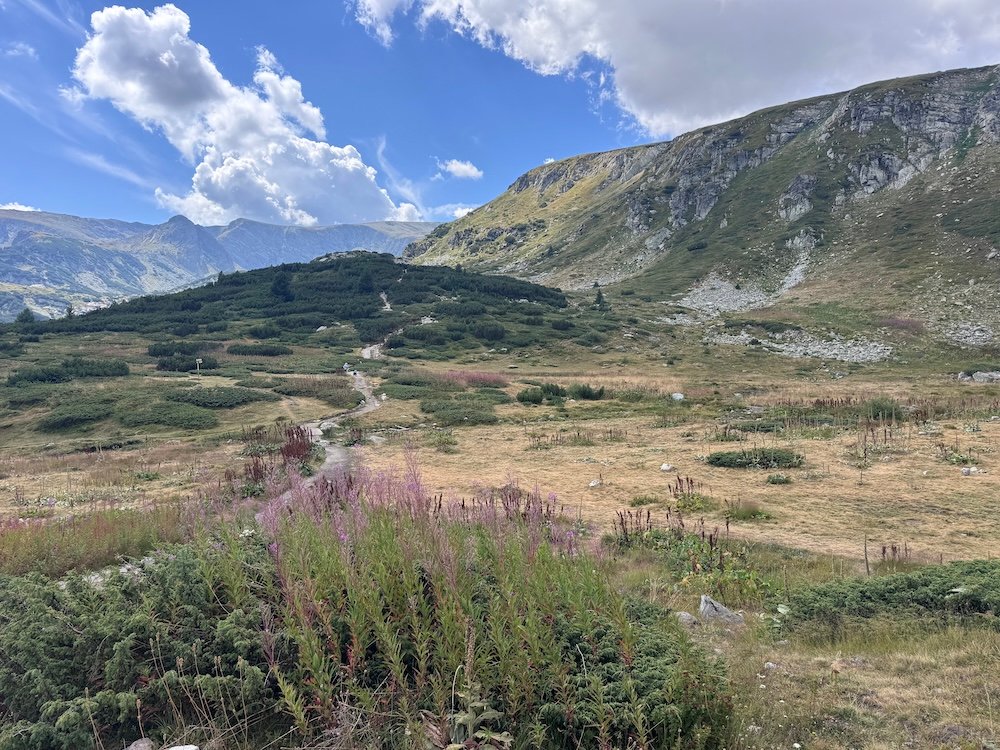
Eventually the trail evens out a little bit. It becomes easier to hike and easier to breathe and honestly, I think the views got even better up here, even though it will still take a bit to reach the lakes. Though it’s not much further.
My biggest piece of advice here to to watch the trail. I followed the route on AllTrails, which was fine. You’ll walk up a small hill to overlook Kidney Lake. However, once I got to the other end of Kidney Lake, I saw that there was a path that would have taken you right along the shores of the lake. Had I known that was a possibility, I absolutely would have done that. Kidney Lake is the most impressive of the 7 Rila Lakes, so why wouldn’t you want to spend extra time by that lake.
In total, it’s about 1.6 miles (2.5 kilometers) to the split in the trail. It took me about 50 minutes to reach this point. From here you can go back the way you came, continue hiking in a loop, or take the spur in the trail to go to Lakes 6 and 7.
Trail to Lakes 6 and 7
The trail to Lakes 6 and 7 is completely optional. If you’re on a guided tour, you’ll want to pay attention to the time to make sure that you have enough time to hike this spur. It took me just over an hour to do the return trip (about 35 minutes to the top, 5 minutes for photos, and 25 minutes to return back down). It’s about 1.5 miles total.
The distance isn’t the hard part, it’s the elevation. It’s a very steady (and sometimes steep) uphill climb to reach lakes 6 and 7. Remember that steepness at the beginning of the trail? It’s just like that again.
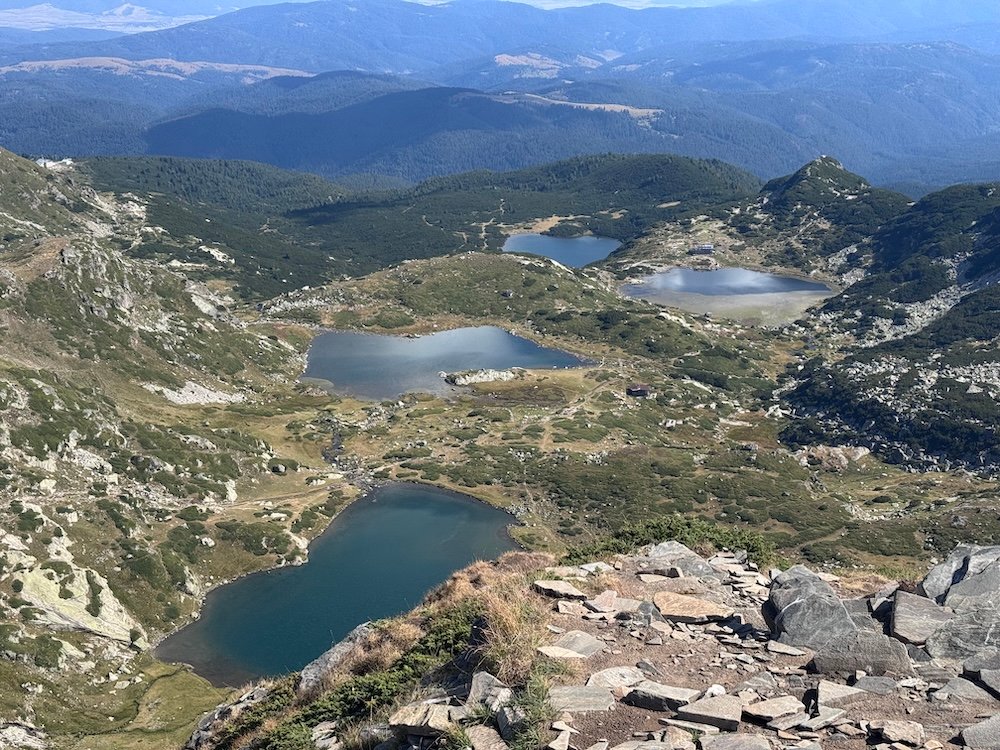
About halfway up, you’ll pass lake 6. You can stop quickly, take your photos and then continue on to lake 7. The view from up here is fantastic and you’ll not only see lake 7, but also some of the other lakes that you haven’t hiked past yet.
One of the best things about starting early and not waiting for my entire group was that the area near lake 7 was pretty empty. I arrived at the top and there just three other people. One couple had just arrived and the third person was just leaving. I was about to leave and one more couple showed up.
It was nice and peaceful and not too hard to get photos. However, I passed so many people as I descended. There were independent hikers, but as I reached the start of the spur to lakes 6 and 7, I started to pass all of the people from my bus. The trail was starting to feel crowded and I wasn’t even going in the same direction as everyone else!
Once you finish the spur to lakes 6 and 7, it’s time to finish your loop.
Lakes 1-4 and Return to the Trailhead
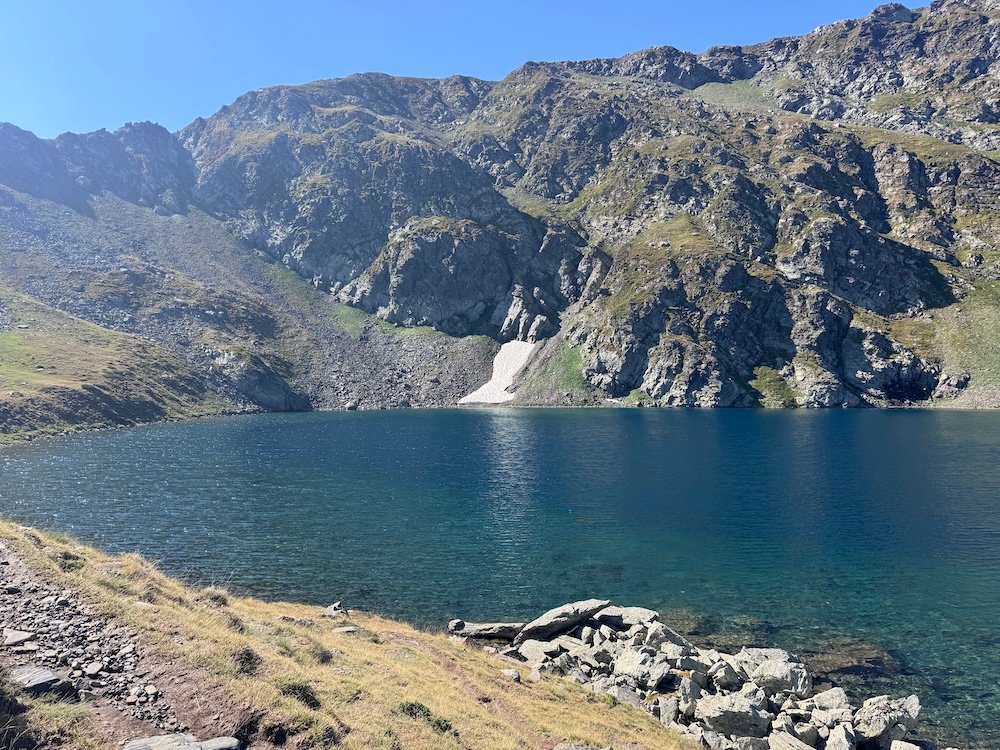
The good news is that it’s all down hill from here. The uphill is behind you and on your journey back to the trailhead you get to pass four more of the Rila Lakes. The views are great and since I wasn’t struggling to breathe as I hiked uphill, I could really enjoy everything. Plus, since I went counterclockwise and started early, there weren’t many people on the trail. Sure, I passed a few people, but it was completely manageable and I loved having the scenery mostly to myself.
Once you pass the last lake, it’s about another mile back to the trailhead. I don’t know what it was, but this mile felt like it went on forever. I wasn’t struggling to breathe, but it felt like the longest mile of the entire trail. But I made it back to the trailhead and celebrated a great hike.
For most people, this is where your hike will end. If you’re unlucky like me, you’re not done hiking yet.
Trailhead to the Chairlift
After completing your hike, it’s time to return to the parking lot. Present your ticket and take the chairlift back down.
Hopefully, your visit isn’t like mine. There was thunder in the area and the chairlift was suspended until the weather cleared. If you’re traveling on your own, this isn’t a huge deal. It’s annoying because you won’t know exactly when the chairlift will reopen, but you can try to wait it out.
For those on a tour (like me!), this becomes a problem. Because they weren’t able to tell us if it would be 20 minutes or three hours before the chairlift reopened, we had no choice but to walk down. No one in our group was happy (especially when we saw the chairlift start running when we were about halfway down the mountain), but it was our only option to stay on schedule and include a stop at the Rila Monastery.
So, if you were wondering why I had stats for this trail, this is why. We had to hike down and it wasn’t pleasant. It takes about an hour to walk down and with the uneven terrain, it’s not a fun hike. I think everyone in our group slipped several times and most of us fell over at least once. We made it to the bottom, but it’s because of this experience that I highly recommend the chairlift in both directions.
As a note, even if you buy a roundtrip ticket and can only use it in one direction, there is no refund. That’s a bummer, but at least it was only 5 euros lost.
Rila Lakes Trail Stats
Distance: 5.26 miles (8.45 kilometers)
Elevation Gain: 1,800 feet (548 meters)
Starting Elevation: 6,900 feet (2,100 meters)
Highest Point: 8,400 feet (2,560 meters)
Time: 3 hours 15 minutes
Should You Book a Guided Tour?
It really depends how you’re traveling across Bulgaria. If you plan to take buses and trains across Bulgaria, just sign up for one of the day trips to the Rila Lakes. It’s easy, convenient, and not very expensive. If you’re already planning a road trip through Bulgaria, just time your trip with when you have a rental car.
With the tour, you’ll have the option to take a guided hike or a self guided hike. This is again your choice. The guided hike costs more, but in my experience, there was nothing stopping anyone in the group from joining the guided hike regardless of how they signed up.
That said, if you’re a comfortable hiker, I don’t think a guide is necessary. I’ve done plenty of hiking solo, including a three day solo hike on the Quilotoa Loop in Ecuador, so hiking alone didn’t bother me.
Download the route on AllTrails and you should be totally fine to hike on your own. Just make sure to pay attention to the clock and make sure that you can get to the bus on time. You don’t want to get left behind.
Should You Visit the Rila Lakes and Rila Monastery Together?
The two most popular day trips from Sofia are the Rila Lakes and the Rila Monastery and you’ll find tours that cover both in one day. If you have limited time in Sofia, take a day trip that includes both stops. It’s a long day trip (nearly 13 hours), but you’ll be able to hike the 7 Rila Lakes and visit the stunning Rila Monastery.
Note that on a combined tour, you’ll want to pack your own lunch. You’ll leave Sofia at 7:00 am. After hiking the 7 Rila Lakes, it’s an hour and a half drive to the Rila Monastery where you’ll have a little time to explore before getting back on the bus to Sofia. There’s no restaurant stops (though there are some stands to buy stacks along the way), so bring your own food.
If you have the time, I think it’s worth doing the two trips separately. Hike the 7 Rila Lakes without being as rushed. Then on a separate day, you can visit the Rila Monastery. On a monastery only tour, you’ll have the option to include other stops like the Boyana Church and the St. Ivan Cave. The Boyana Church and St. Ivan Cave are not an option if you do the Rila Lakes with the Rila Monastery.
So what did I do? I signed up for two separate tours because I had extra time in Sofia and I didn’t want to feel rushed. Unfortunately, the night before the Rila Lakes hike, I received a message and was told that they didn’t have availability for me to do a hiking only tour. I’m not sure how that works since I signed up nearly a week in advance, but they offered to upgrade me to the Rila Lakes and Rila Monastery combined tour for free.
So I took their offer and combined the Rila Lakes and Rila Monastery into one tour. It wasn’t my initial plan and I was exhausted at the end of the day, but it worked out in the end. Despite that, I’d still recommend separating the two trips if you have the time in your itinerary.
Final Thoughts
While this trip didn’t quite go as planned (both with the booking and with the additional hike down to the parking area), I still really enjoyed the hike. There are some steep sections, but the views are incredible. Whether you’re visiting for the mountains or the lakes themselves, I highly recommend a day trip to the 7 Rila Lakes.
