Gaze up at the towering sequoia trees, drive a stunning road through one of the deepest canyons in the United States, and hike up mountains for epic views. This one week road trip through three of California’s national parks has no shortage of incredible scenery and unique experiences. Starting in Fresno, you’ll visit Sequoia, Kings Canyon, and Yosemite National Parks. While you won’t be able to see everything, you’ll get a good taste on this road trip.
Sequoia, Kings Canyon & Yosemite National Park Itinerary
This national park itinerary is a slight variation on the itinerary I did. My California national park itinerary was six days, while the one I’m presenting here is for seven days. I think the week long itinerary just makes it easier for planning, but I’ll give some options for travelers that have less time for their trip.
Day 1 – Hello, California
On this Sequoia, Kings Canyon, and Yosemite National Park itinerary, we’ll start in Fresno. For a city of 500,000 people, there are fewer flights than you might expect. While it can be tempting to fly into a larger airport with more connections, I highly recommend flying into Fresno. It’s right near everything you’ll want to see. Once you land, pick up your rental car and head south toward the town of Dinuba.
One note about the rental car. I don’t know if it was because of the day I flew in, but there was a shortage of rental cars at the Fresno airport. Our flight landed early, but we had to wait an hour and a half before they had a rental car available. We weren’t the only travelers stuck in this situation. There were signs at nearly every rental car counter stating that they had no cars available. Thankfully, most of us who were waiting had made a rental car reservation in advance so while it absolutely sucked to have to wait for a car to be available, they were able guarantee that we would get a car that day.
In our case, we were lucky and we ended up with a slight upgrade (likely because after an hour and a half, that was all they had available). However, had we not booked a car in advance, we would have been screwed.
Enough about rental cars and back to this itinerary. Settle into your hotel and get ready for a big day of hiking tomorrow.
Sleep: Dinuba (or elsewhere near Kings Canyon & Sequoia National Parks)
Day 2 – Sequoia National Park
Today the trip really starts and so get an early start and head to Sequoia National Park.
Sequoia National Park and Kings Canyon National Park kind of blur together. They have separate park boundaries but the two parks are managed together. We’ll visit both parks on this itinerary, but we’re going to do it over two days (one day per park) so it’s less rushed.
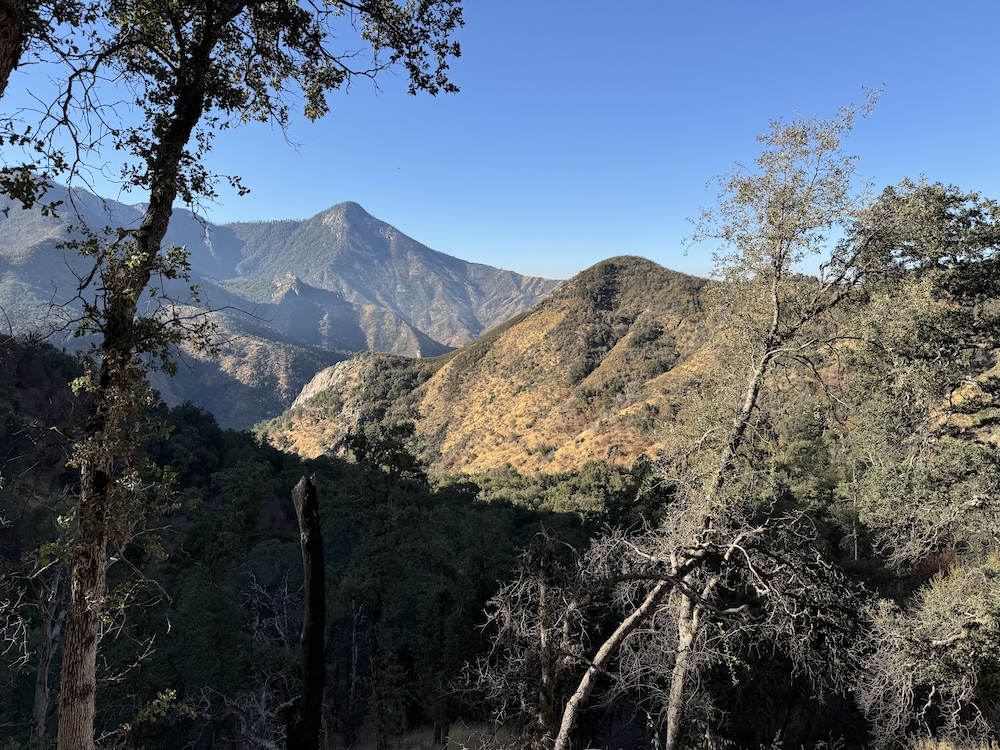
You’ll want to enter the park at the Sequoia National Park entrance along the Generals Highway, just north of Three Rivers. You’ll then start a twisty road to your first hike of the day. This road is full of curves and hairpin turns. It’s one of the windiest mountain roads I’ve ever driven. But as long as you take your time, it’s totally fine.
Along the way, you’ll find various overlooks and pullouts. Stop and take some pictures. The views are incredible. Tunnel Rock is one of the first you’ll come across and while it’s kind of cool, there are many other (better) views along the road. I recommend Amphitheater Point and Vista Point. Keep driving until you reach the turn off for Moro Rock.
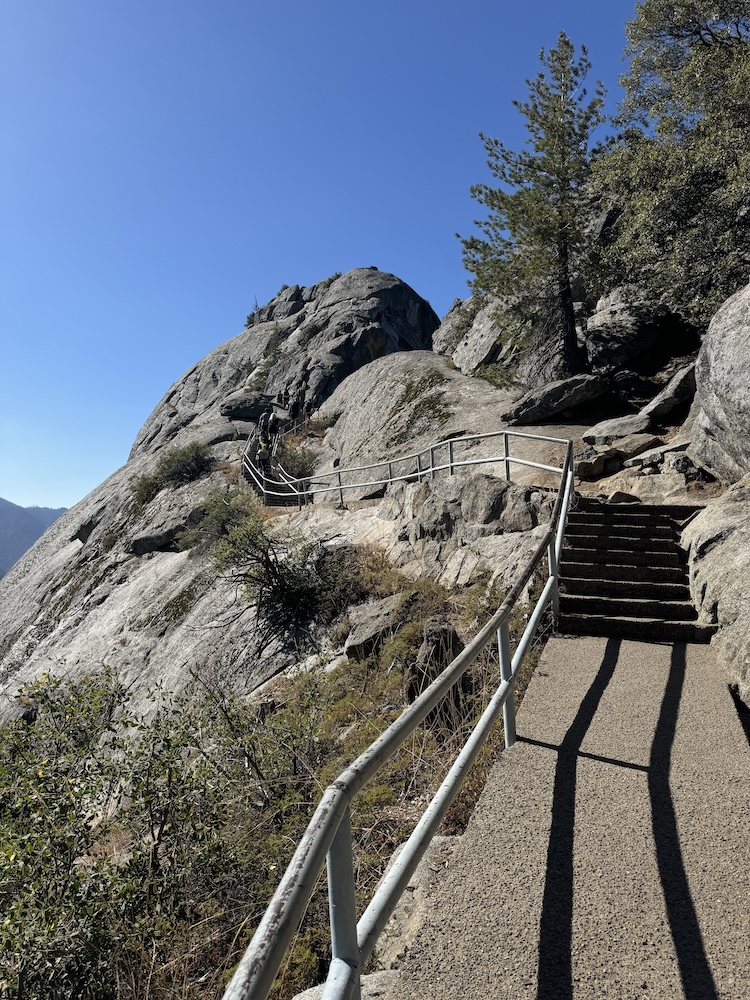
The first hike of the day is to Moro Rock. I say hike, but I don’t think of it as a hike in the traditional sense. It’s really a walk up a lot of stairs (350 to be precise) to a phenomenal view of the valley. From start to finish, I logged just under a half mile, so it’s not long. There’s just a lot of steps.
The area at Moro Rock can get busy, so I recommend making this one of your first stops of the day. Yes, there’s other parts of the park where I had more crowds, but because you’re on narrow stairways, you want to try to do this hike with as few people as possible.
When you’re finished with your hike, continue on to Crescent Meadow. You can stop for a photo at Tunnel Log or even at one of the pullouts in the forest. But eventually you’ll make your way to Crescent Meadow.
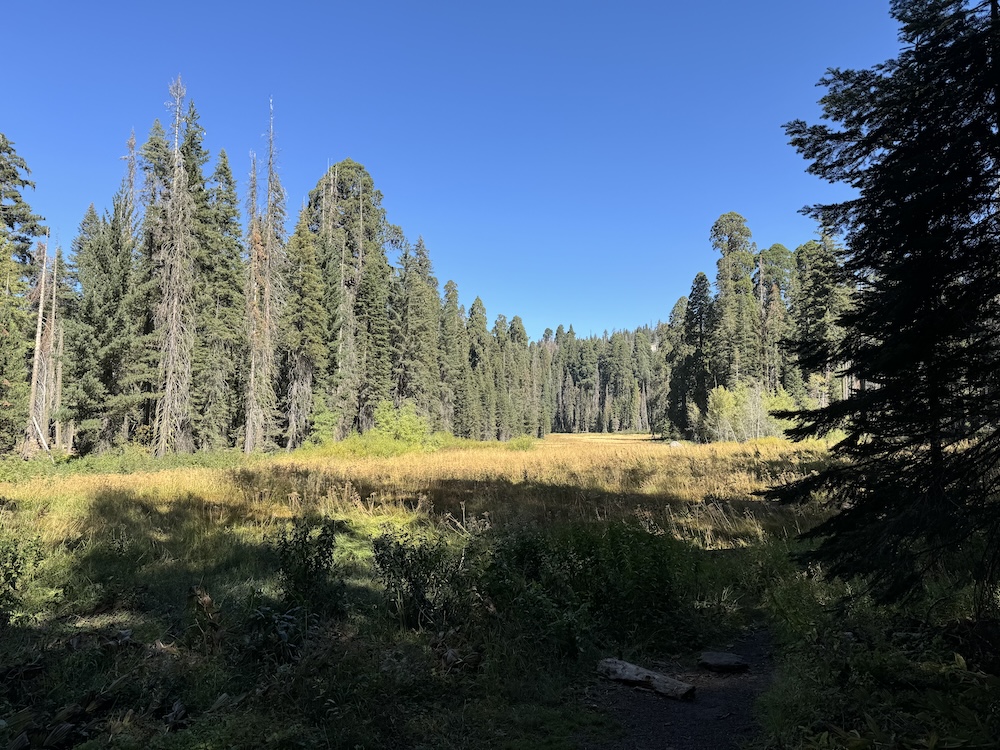
Crescent Meadow wasn’t my favorite hike of the day, but I think it offers something different from the other hikes I’ve included today, so I’m including it here. This hike is pretty easy and takes you through a forest and a meadow. I logged 1.5 miles and 150 feet of elevation gain on this trail.
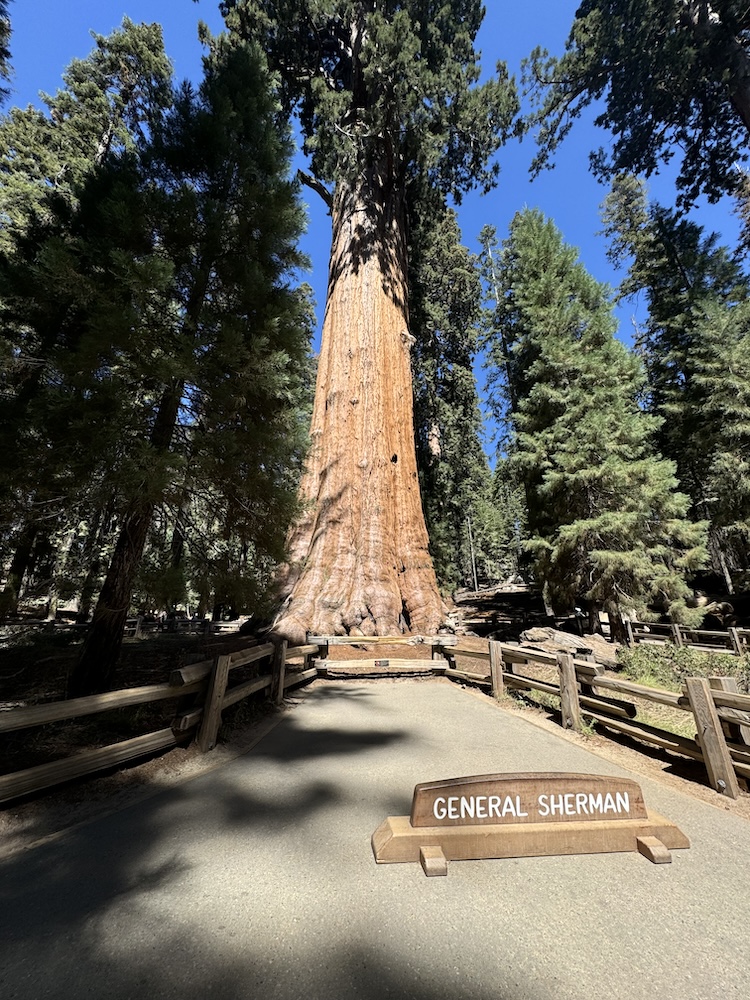
After your hike, retrace your route on Crescent Meadow Drive to get back to the Generals Highway and continue heading north. The next major stop is the most popular area of the park. General Sherman Tree is the world’s largest tree by volume and everyone who visits Sequoia National Park seems to stop here.
From the main parking lot, it’s a quarter mile walk downhill to the General Sherman Tree. If you are here at midday and want a picture, be prepared to wait. Or, you can be like me and get sneaky and manage to snag a picture without any tourists. Honestly, I got lucky and managed to get it while two groups swapped out.
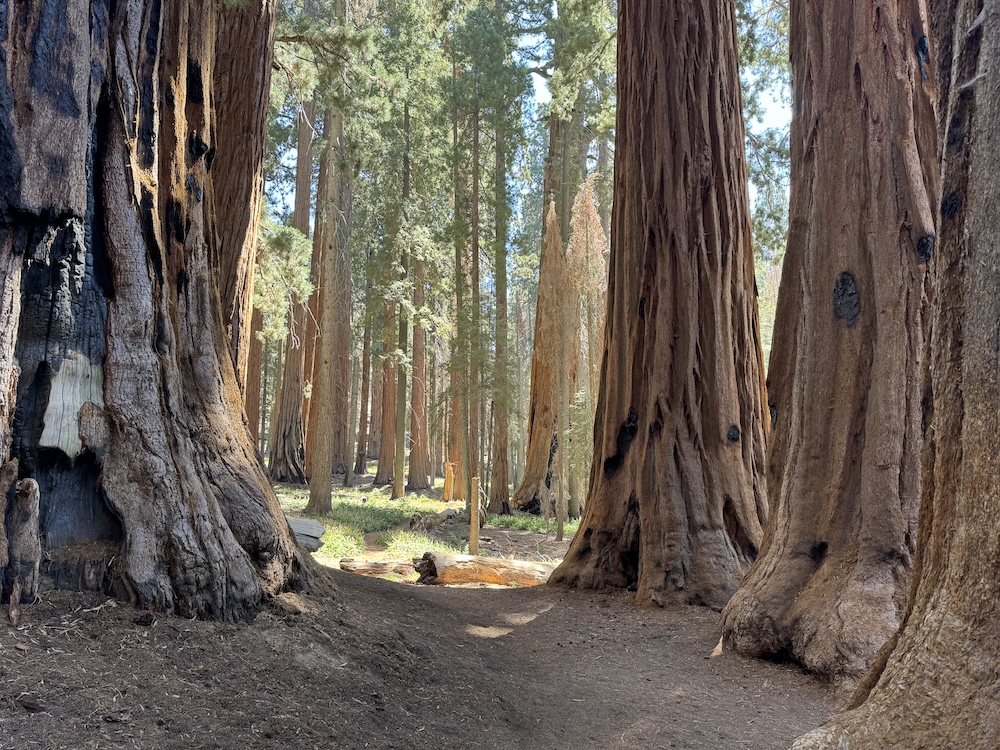
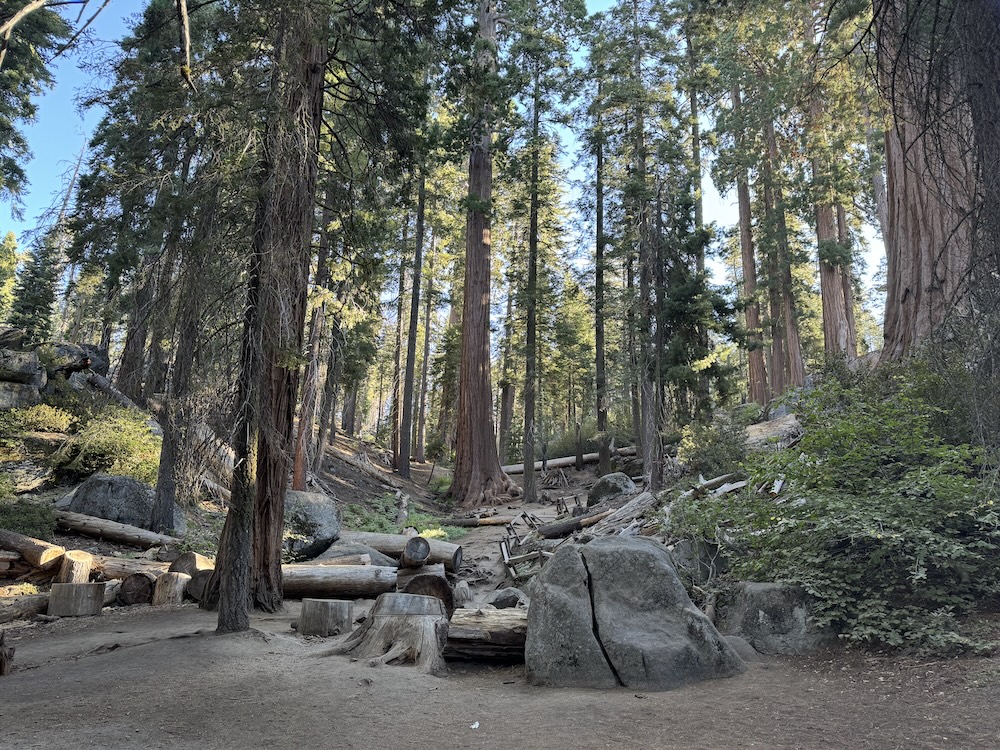
Before heading back to your car, follow the signs to the Congress Trail. This trail takes you through the forest of sequoia trees and it was my top trail for the day. It’s not a difficult trail and it can feel a world away from the chaos of General Sherman Tree. Along the way, keep an eye out for The Senate and The House, two clusters of sequoia trees that make for excellent photos. If you want to feel completely surrounded by the towering sequoia trees, this is the best place for it.
After the Congress trail, return back to your car. Your main sightseeing for the day is done, so start working your way back to your hotel. You have two options. You could return the way you came (and drive that super windy road again) or you can continue following the Generals Highway all the way to the Kings Canyon Entrance. This is what we did because we wanted some different views. Plus, you won’t be driving this section of road tomorrow (from the Kings Canyon Entrance to General Sherman), so why not take in some different scenery.
In town, grab some dinner and prepare for day of vastly different scenery.
Sleep: Dinuba (or elsewhere near Kings Canyon & Sequoia National Parks)
Day 3 – Kings Canyon National Park
Today we’re heading back to the same area where you ended your day yesterday. Don’t let that fool you though. The scenery for today is vastly different than what you would have seen yesterday.
Enter Kings Canyon National Park and get on the Generals Highway heading north toward General Grant Grove. The first stop of the day is the General Grant Tree, which unsurprisingly is in Grant Grove. Stop here first thing. Yes you could do it on the way back, but remember those crowds from General Sherman yesterday? It’ll likely be similar here, so if you stop early, you’ll only have to share General Grant Tree with a handful of other travelers.
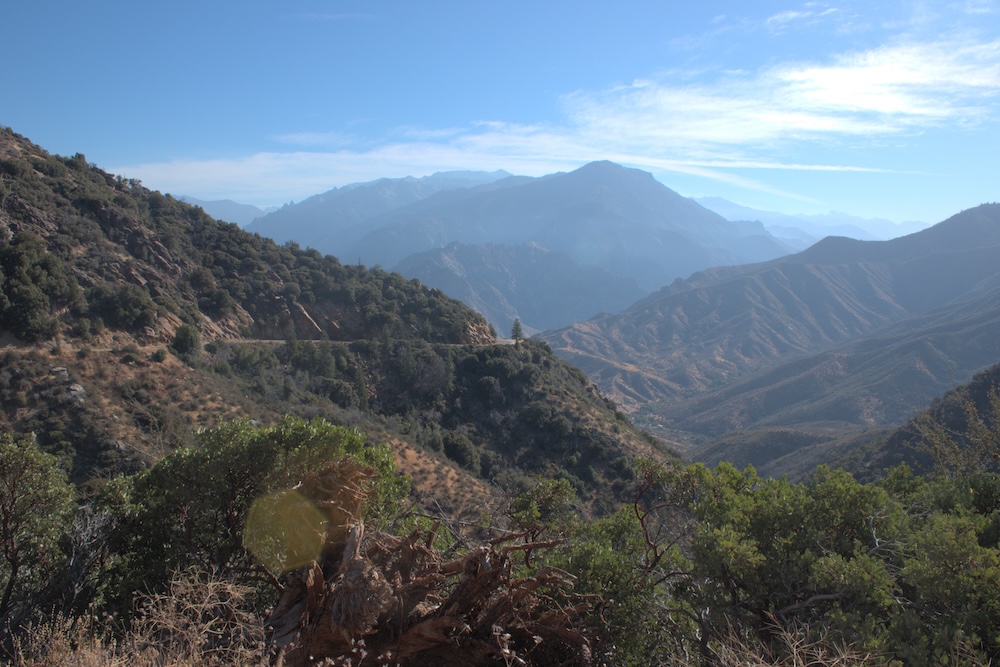
General Grant Tree is the second largest tree, which may seem like a let down since yesterday you saw the world’s largest tree. However, the lack of people made this a much nicer experience. Walk around the tree and take your photos. If you feel up to it, there’s several hiking trails that lead from the General Grant Tree. Admittedly, I did not hike any of these trails. I had plans to stop back and hike in this area later in the day, but we skipped it.
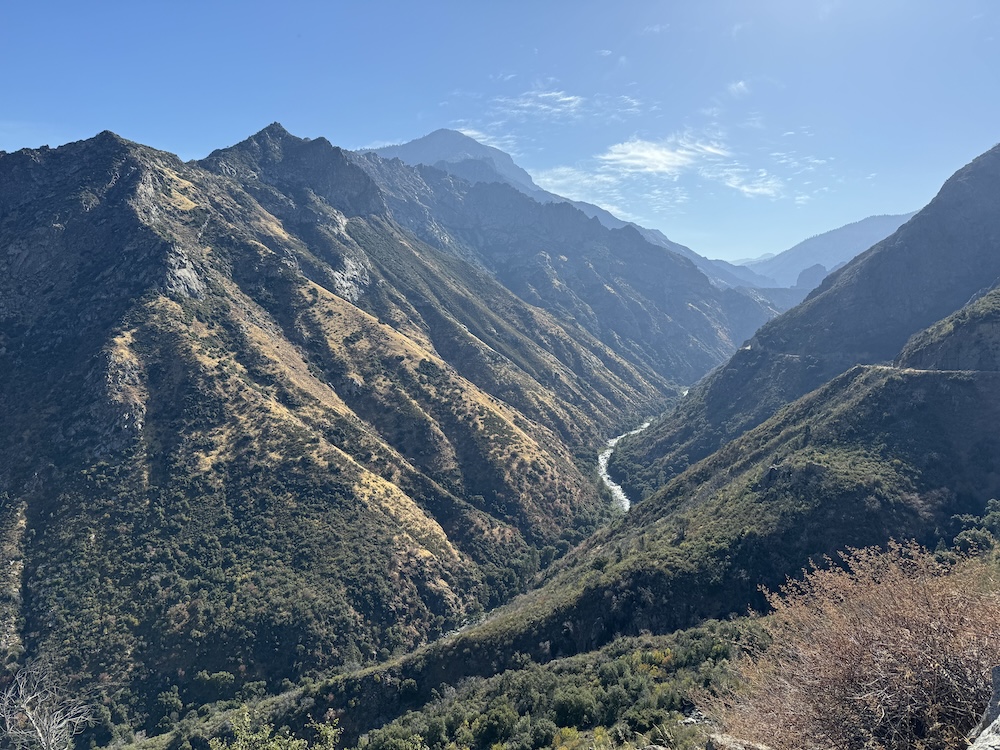
Next, we’re going to hit the road and start along the scenic drive into the canyon. Just start driving. It’s about an hour to get all the way to the end of the road, but the scenery is so stunning you won’t mind too much. We came around a curve and got our first view of the canyon and my mom said, “Oh my god. Oh my god. Oh. My. God.” It was that spectacular.
Keep an eye for pullouts along the way. While there are plenty of unnamed pullouts, we stopped at Junction View and Yucca Point (and some of the unnamed views) and enjoyed every second of the scenery. Note that you are driving a mountain road, but it’s nowhere near as windy as what you drove as you entered Sequoia National Park yesterday.
At the end of the road, you’ll turn around and start working your way back. It’s at this point that you can make some additional stops. Roaring Rapids is a nice waterfall and the Zumwalt Meadows offers a peaceful meadow. While you can drive between the two, a hiking trail exists, which is what we did.
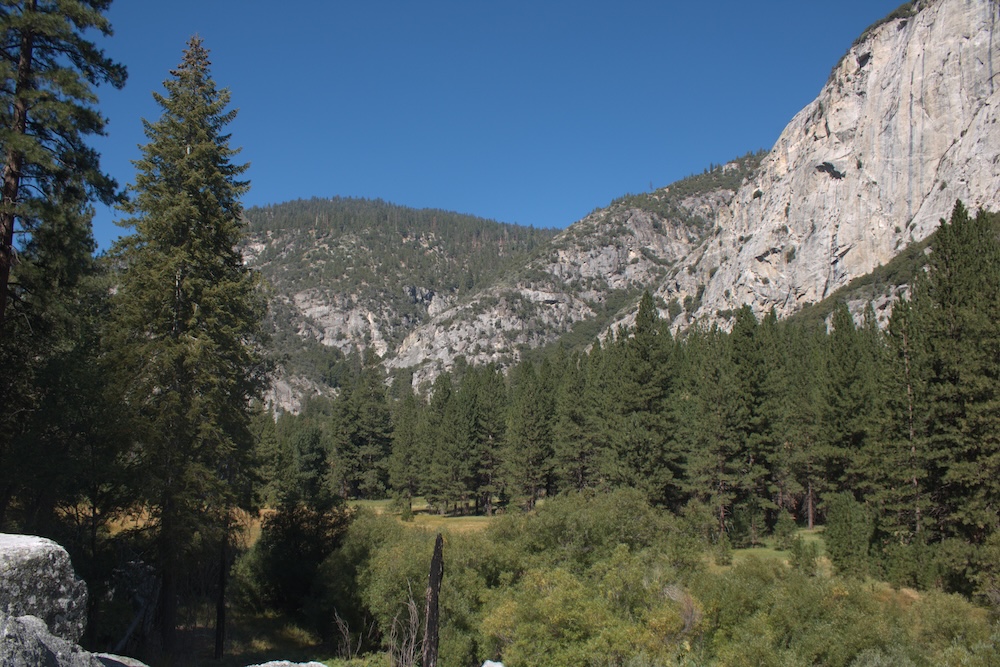
The trail is pretty easy and from Roaring Rapids, we logged 4.5 miles and 375 feet of elevation gain as we hiked to Zumwalt Meadows and back. The trail was nice with the exception of the gnats. The gnats were vicious and should not be underestimated. We sprayed ourselves heavily in bug spray and while it stopped them from landing on us, it did not stop the gnats from swarming us. However the wind picked up a bit on the way back and then the gnats were much less noticeable.
Overall, I recommend the hike between Roaring Rapids and Zumwalt Meadows, but look ahead to see what the gnat situation is (reviews on AllTrails are a great option). If the gnats are vicious, stop for a quick visit to Roaring Rapids and Zumwalt Meadows but do your hiking at Grant Grove.
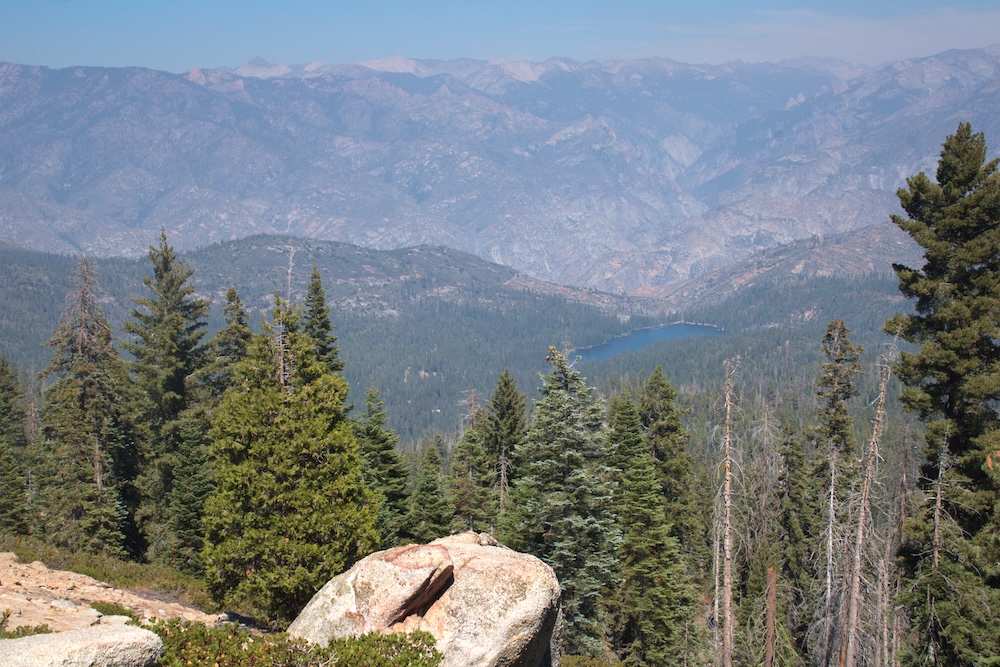
On your way back to Grant Grove, you have the option to take a slight detour. Most of the Generals Highway today is actually through the Sequoia National Forest, not Kings Canyon National Park. But there’s an excellent view of Hume Lake if you’re willing to take a short 15 to 20 minute detour. I think it was worth it although take caution when pulling into the overlook. The overlook is on a blind curve and I almost hit a park ranger who came around the curve as I pulled in. Of course you can drive all the way to Hume Lake, but I was content with the overlook.
Back at Grant Grove, take the road to Panoramic Point. The road takes you to a short hike of a fantastic, panoramic view of the road you just drove. You can even see Hume Lake from here. A warning though is that you need to be careful on this road. The road is a two way road, but many areas are only large enough for one car. Drive carefully and work with other drivers. At one point, we had to reverse, let a car pass, and then continue on down the road. We also passed four deer which added to the chaos of the road. Drive carefully.
If at this point you still have energy, there’s one more area you can consider stopping and hiking at. At the Big Stump picnic area, you can head out on a hike to Big Stump. While the National Park Service protects this area now, years before these sequoia trees were cut down and used for their wood. The stump of one of these massive trees is still there (“Big Stump”), so if you’re interested, you can hike out and to put the trees into more perspective.
When you are finished, head to your hotel. While you could head back to Dinuba, spend a little extra time driving to save yourself some time tomorrow. The drive from Kings Canyon to Yosemite (tomorrow’s destination) is 2 hours and 20 minutes. Since you’ll want to get an early start at Yosemite, drive part of the way tonight. By staying in or near Fresno, you’ll shave about an hour of your drive tomorrow.
Of course, you could stay closer to Yosemite, but I think this is a nice compromise. You don’t have to drive too much after a busy day and you have less driving tomorrow (on another busy day). Plus, our hotel in Fresno was half the cost of our hotel in Yosemite.
Sleep: Fresno
Day 4 – To Yosemite National Park
Get up early and check out of your hotel in Fresno. You’ll have an hour and a half drive to the entrance of Yosemite National Park.
When you enter the park at the Mariposa Grove Station, pull into the parking lot and visit Mariposa Grove. Since you left early, you should arrive at the park early and be able to snag a spot. We came through later in the day and the lot was completely full, so we had to skip Mariposa Grove. My hope is that by you stopping early, you’ll get a chance to visit.
So what is Mariposa Grove? It’s Yosemite’s cluster of Sequoia trees. There’s a short trail you can walk and after an hour and a half in the car, it can be a nice place to stop and take a break.
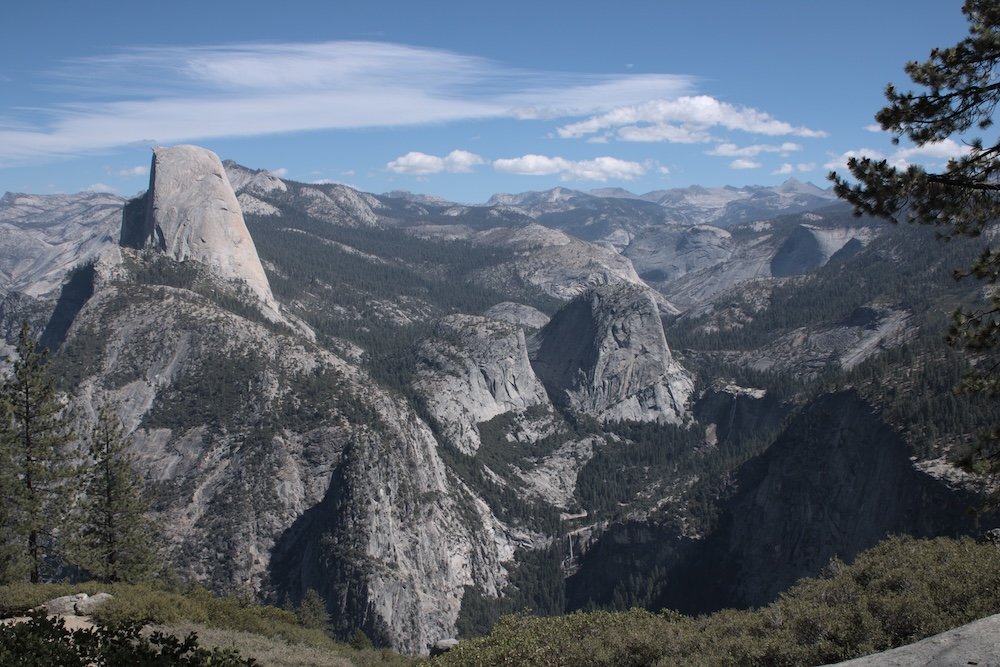
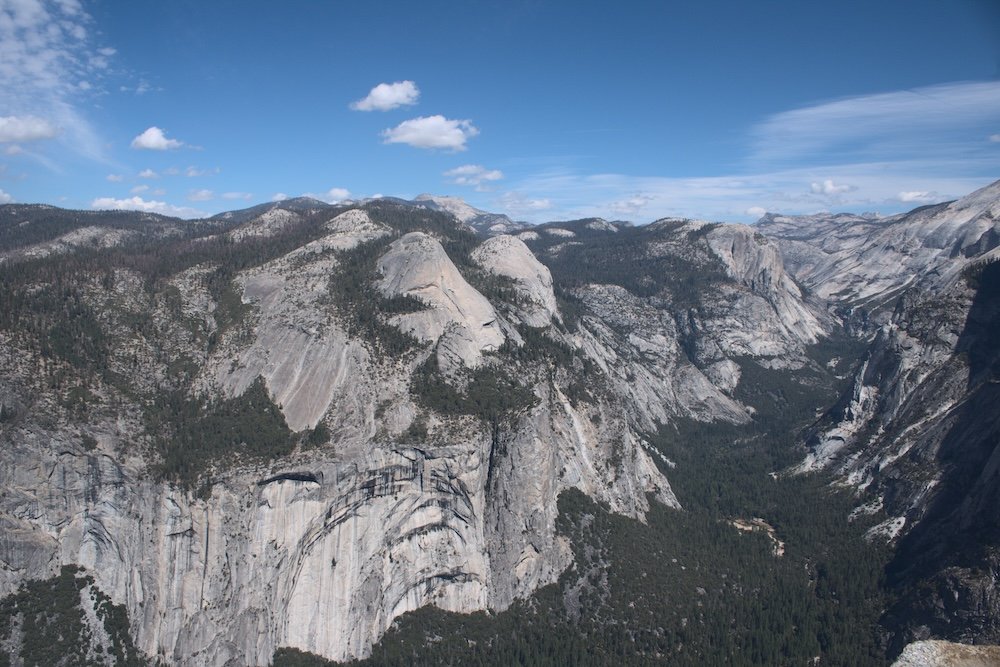
Continue driving deeper into the park and turn off on Glacier Point Road. There’s three major stops we’re going to make here. Glacier Point is at the very end of the road and Washburn Point is just before that. Both of these stops over amazing views of the surrounding mountains. Personally, I think I enjoyed Washburn Point more but I think that’s because there were fewer people here. Both view points are excellent and worth a stop.
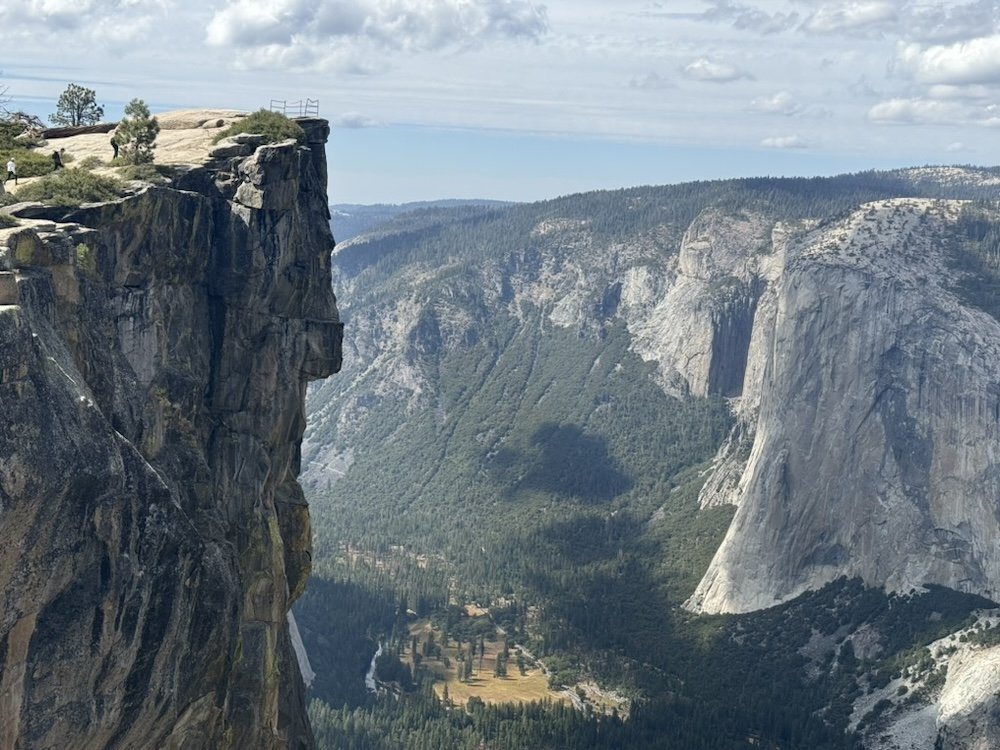
The other place to stop at Glacier Point Road is the Taft Point Trailhead. There are two parking lots for this trail and you can use either. Just stop in whichever lot has an opening. The hike to Taft Point (and back) is 2.5 miles and 375 feet of elevation. It is a fantastic option for a first hike. Like Glacier and Washburn Point, this takes you out to a phenomenal view of the surrounding mountains. This trail was excellent and was definitely a favorite of my trip to Yosemite National Park.
The order you do these three view points are up to you. I’d recommend doing Taft Point first because if you can’t find a parking spot (like us!), you’ll have the chance to look again on your drive back from Glacier Point.
As a note, from the Mariposa Grove entrance to Glacier Point, it is a one hour drive.
Start working your way back to the main road and then head north (take a right turn off of Glacier Road). Watch for signs for Bridalveil Falls. This parking lot can be kind of hectic, depending on when you arrive, but this is your first chance for one of those magnificent waterfalls. There’s some paths nearby that allow you to take in the waterfall from different angels. Stop and enjoy the view.
Next continue on your drive. The next stop is another phenomenal viewpoint and it’s Tunnel View. You’ll hit the tunnel and immediately after the tunnel, you’ll find parking lots for Tunnel View. The views are spectacular but there are a lot of people here. Watch carefully for pedestrians as you exit the tunnel as the view point is immediately after the tunnel.
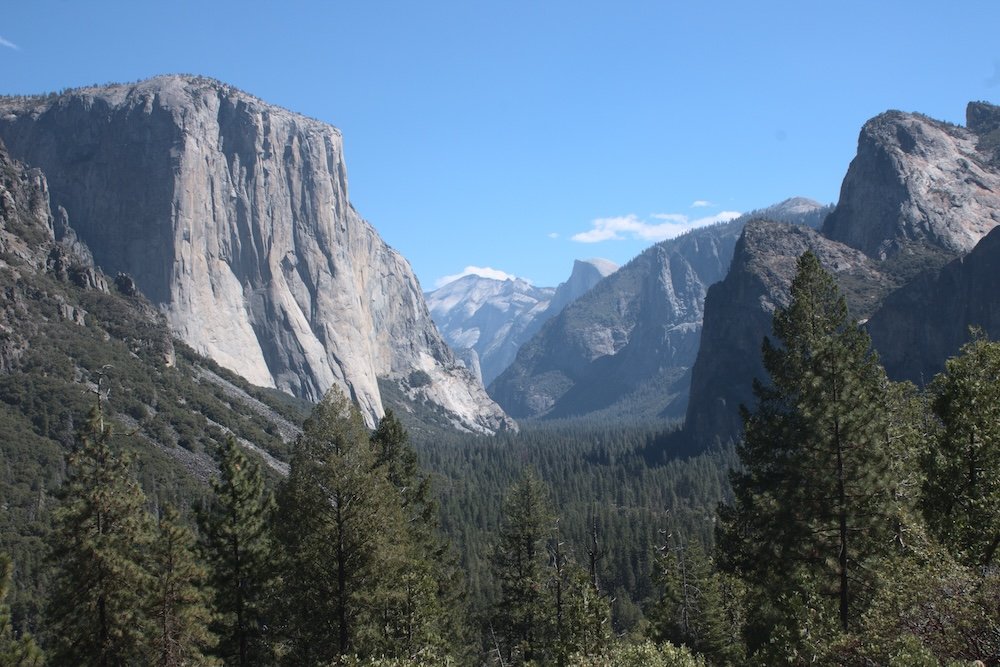
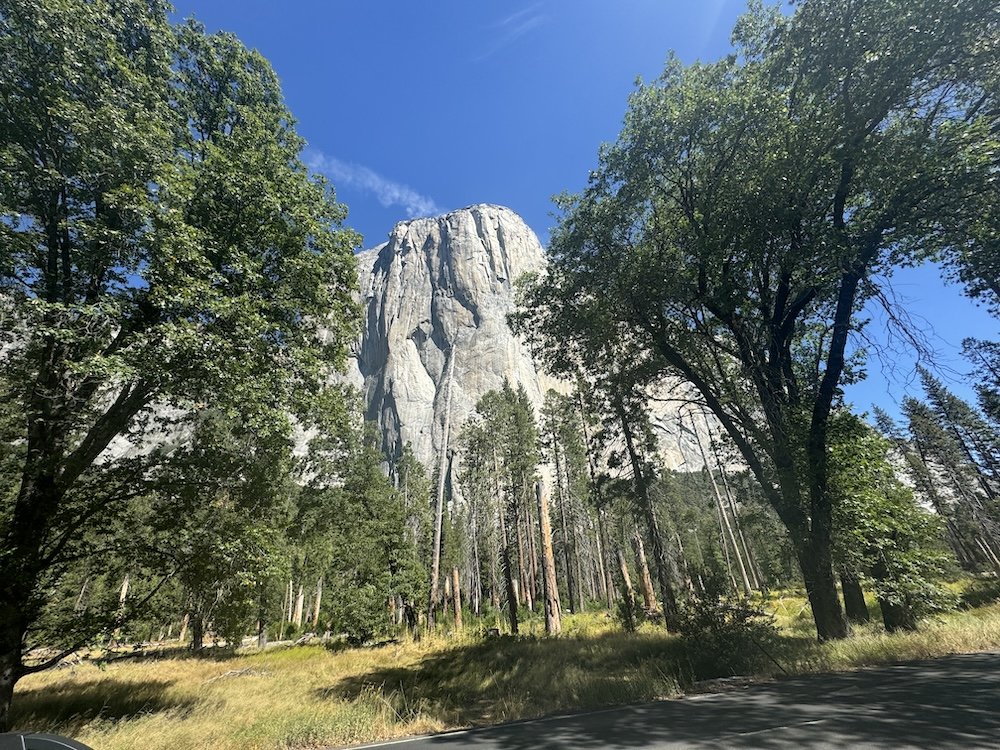
While we’ve done a lot of driving so far, I’m going to include one more stop today. Head to Yosemite Valley and do some exploring. The valley is stunning and it had some of my favorite views of the entire park. El Capitan, Half Dome, and the surrounding mountains tower over you and your jaw just drops.
Don’t worry about doing too strenuous of a hike this afternoon. There will be plenty of time tomorrow for hikes to waterfalls and more epic viewpoints.
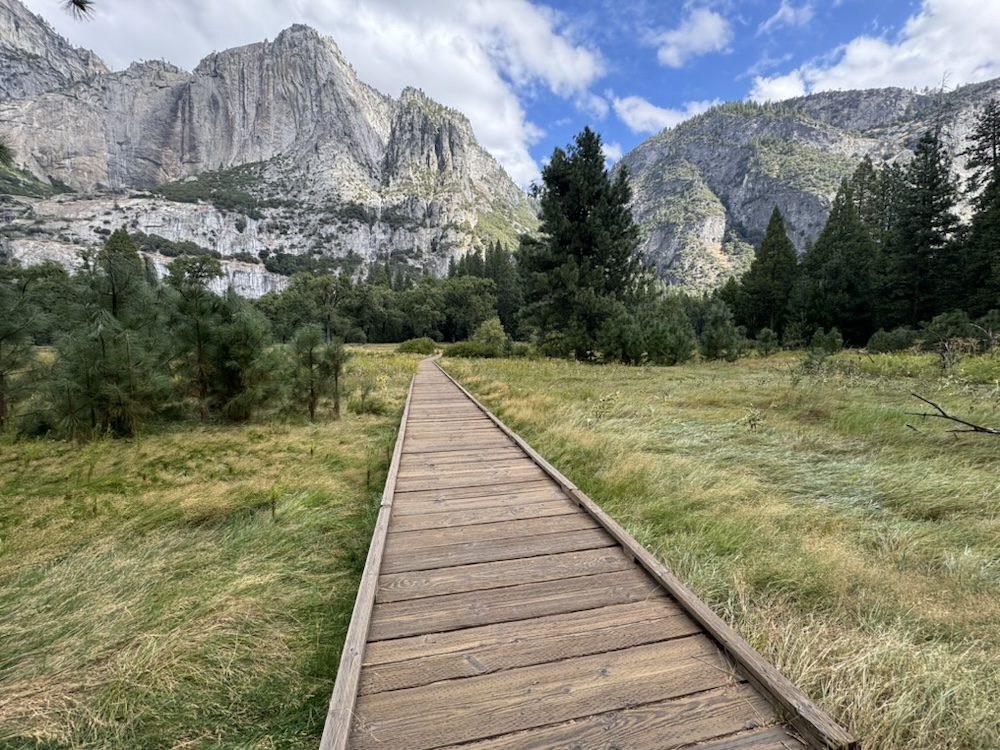
Instead, I suggest walking the Cook’s Meadow Loop. This is a flat path through the valley that gives you incredible 360 degree views of the park. For parking, I recommend looking for a spot near Sentinel Bridge. We parked near Camp 4 in Yosemite Valley and walking from there (which is not very far).
By this point, you’re probably starting to feel a little tired and likely hungry. It’s ok to call it a day at this point and make your way to your hotel.
We spent the night in Mariposa, which is about 50 minutes from the entrance station on El Portal Road. This was close enough to where we wanted to be in the park while still being a “budget” option.
Sleep: Mariposa (or nearby Yosemite National Park)
Day 5 – Yosemite National Park
Today, get another early start. You’ll likely have experienced some form of crowds and traffic yesterday, so hopefully that is enough motivation for you to get an early start.
Head back to Yosemite Valley. Yesterday, you took in the views of the mountains from the valley floor. Today, you’ll get to hike up into the mountains. There’s several ways you can do this and it’s up to you what you choose.
Two of the more popular trails are those to Yosemite Falls and Vernal Falls. In my opinion, if you’re here during the spring or early summer when the waterfalls are powerful and actually flowing, I’d pick one hike and savor it.
The other option is to do some of each trail. On my visit during mid September, Yosemite Falls was completely dry and nearly every other waterfall in the park (including Vernal Falls) was very low. That didn’t stop us from hiking, but it did influence our hiking plans. Rather than hiking the entire way to Yosemite Falls, we hiked as far as Columbia Rock, which is the first viewpoint you come to.
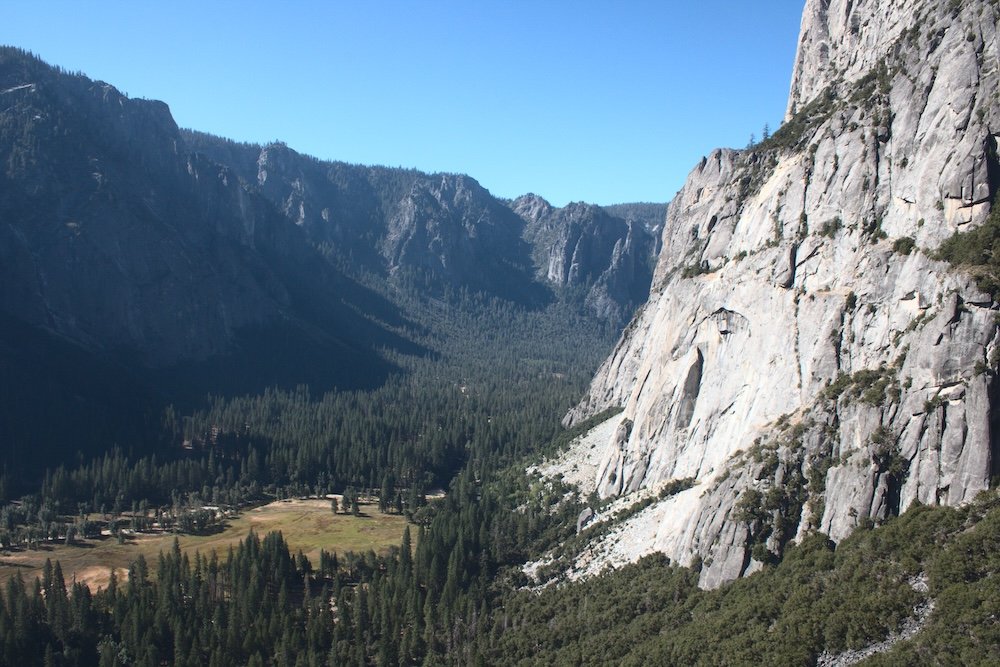
The trail is very steep and you’ll gain 1000 feet of elevation in one mile, but the views of the canyon are great. You could continue on to Oh My Gosh Point which offers another look at the valley and is only another quarter mile up the trail (and aside from a climb in the beginning, it flattens out). Just a note that if you hike this trail first thing in the morning, expect the sun to be in such a position that your photos won’t really come out.
For Vernal Falls, you can hike the Mist Trail all the way to the top of the waterfall. For those who don’t want to do that kind of elevation, or are here when the falls are nearly dry, consider hiking up as far as the Vernal Falls footbridge. This has about 700 feet of elevation in a mile and offers you a nice view of the waterfall. And at this hike, you don’t have to worry about the sun making photos difficult early in the morning.
It’s your choice what hike you choose today, but spend the day enjoying the scenery of Yosemite Valley.
Sleep: Mariposa (or nearby Yosemite National Park)
Day 6 – Yosemite National Park
There’s one more day in Yosemite National Park and I recommend getting off the main tourist path. Of course, you could head back to Yosemite Valley and do another hike, but I suggest seeing something different. Head out on Tioga Road for Tuolumne Meadows. Fewer travelers make it out here, but the scenery is fantastic. Plus, you can do a little more hiking in Tuolumne Meadows.
Admittedly, I did not make it out here on my trip to Yosemite. We were working with a six day national park itinerary instead of seven days, so unfortunately this day just didn’t exist for us. Had we had seven days though, this is what we’d have done.
When you’ve finished at Yosemite National Park, head back to your hotel. If you have an early flight out of Fresno the next morning (ours was at 6:30 am), head back to Fresno tonight. If you don’t have a flight until later, consider spending one more night near Yosemite and making the most of your time.
Sleep: Mariposa (or nearby Yosemite National Park) or Fresno
Day 7 – Goodbye, California
This California national park road trip is over. Return your rental car and catch your flight home.
Recap & Hotels Needed
This is a hard trip to say definitively which city is the best for you to stay in. Above, I gave cities that were close to what I did (remember I had a six day itinerary, not seven, so my hotels were slightly different).
Day 1 – Arrive in Fresno, Drive to Dinuba.
Day 2 – Sequoia National Park.
Day 3 – Kings Canyon National Park. Drive to Fresno.
Day 4 – Yosemite National Park
Day 5 – Yosemite National Park
Day 6 – Yosemite National Park. Drive to Fresno.
Day 7 – Fly Home
Hotels Needed
Day 1-2 – Dinuba (or nearby Kings Canyon or Sequoia)
Day 3 – Fresno
Day 4-5 – Mariposa (or nearby Yosemite)
Day 6 – Mariposa (or nearby Yosemite) or Fresno
With Less Time
Believe it or not, you can create a Sequoia, Kings Canyon, and Yosemite National Park itinerary with less than seven days. In fact, when I did this itinerary, I had six days, not seven. This is a pretty easy swap to make and it essentially just eliminates day 6 from your itinerary. You’ll still get one day at Sequoia National Park, one day at Kings Canyon National Park, and two days in Yosemite.
If you have five days, you’ll need to follow my six day itinerary, buy you’ll still need to make some cuts.
You’ll either need to combine Sequoia and Kings Canyon into one day or cut a day at Yosemite. For me, I’d make a very busy day 2 and cram in as much as you can at Sequoia and Kings Canyon and then spend the night in Dinuba. Then on day 3, get up early and head to Yosemite National Park and spend the next two days exploring.
When to Do This Itinerary
I’d say this itinerary could be done at any time of the year, but I don’t think that’s realistic. During the winter months, snow closes some of the scenic drives (like the epic highway through Kings Canyon). So, I’d avoid winter.
Summers are the busiest. Expect high temperatures and lots of people. At Yosemite, reservations are required daily for anyone wishing to enter the park. Additionally, Sequoia National Park operates a shuttle that you will need to use to get around the park.
Shoulder seasons (spring and fall) can offer a balance. However, it’s important to keep in mind that the weather can impact your trip, particularly in early spring and late fall. You’ll be up in the mountains and snow can really mess up your plans.
So given that, I recommend late spring or early fall. In late spring, you’ll be able to see gushing waterfalls at Yosemite National Park as the snow melts. By early fall, these waterfalls are dry or very low.
I went in mid September and while we had a great time and nice weather, we missed so many waterfalls at Yosemite National Park. If I were to do this again (and I know I’ll be at Yosemite National Park again someday), I’d choose very late spring. By then, snow hopefully won’t be a concern but you can get some of those epic waterfalls.
Reservations for Yosemite National Park
Most visitors will need a reservation to visit Yosemite National Park. This is a new measure that was introduced to try to control crowds at the park. So when you have your plans and dates set, pick up a reservation.
If you’re traveling from late spring to early fall, you’ll want to check if a reservation is required.. During the summer, reservations are required everyday. In late spring and early fall, reservations are only required for Saturdays, Sundays, and holidays (such as Labor Day, Memorial Day, etc.). These reservations are required for entry between 6:00 am and 2:00 pm. If you plan to enter the park outside of these hours, you do not need a reservation (although you will not be allowed to re-enter the park between 6:00 am and 2:00 pm without a reservation).
Reservations cost $2 and are valid for three days. So if you purchase a reservation for Wednesday, you can use that same reservation for Wednesday, Thursday, and Friday.
Reservations can be purchased through recreation.gov.
If you do not have a reservation, you’ll be turned around at the entrance.
A limited number of the reservations are held until the night before, so if you didn’t manage to get a reservation weeks or months in advance, try the night before. If you still don’t have a reservation, you’ll need to get up very early and enter the park before 6:00 am.
Managing Crowds at Yosemite National Park
The crowds at Yosemite National Park can be crazy and because of that, I recommend getting an early start. We arrived at our first trailheads by 8:00 on both days of our visit. We shared the trails with other hikers, but we noticed a lot more hikers as we worked our way back from the various viewpoints.
More importantly, the entrances to the park can be a huge bottleneck. It gets so bad that there are signs posted along the road to tell visitors how long of a wait it will be (30 minutes from this point, 60 minutes from this point, etc.). Additionally, the traffic can get backed up through Yosemite Valley. Thankfully, we never experienced this but we always arrived in Yosemite Valley early in the morning.
On our second day, we planned to stop at Mariposa Grove, but the lot was full so we exited the park (as that was our last stop before heading back to Fresno). It was 1:00 pm on a Monday in September that had rain (and snow in some areas) predicted for the afternoon. The line of cars to enter the park at the Mariposa Grove entrance stretched beyond the “60 minutes from this point” marker.
The point of all of this is to remind you to make your reservations and arrive at the park early. However, if you enjoy waiting in long lines, by all means, take your time.
Entrance Fees
Entrance to Kings Canyon and Sequoia National Parks is $35 for a 7 day pass. The parks are managed together, so you can visit both parks with the same pass.
Entrance to Yosemite National Park is $35 for a 7 day pass.
So, for this itinerary, you’ll spend $70 on entrance fees for national parks. However, if you plan to visit at least one other national park during the next twelve months, it’s worth it to purchase the $80 America the Beautiful Pass. This pass gets you in to numerous federal parks across the United States for one low price. The pass is good for twelve consecutive months which starts when your pass is purchased (ie, it’s not a calendar year – if you purchase in September, it’s good until the next September).
Can You Reverse This Itinerary?
Technically, yes, you can reverse this Sequoia, Kings Canyon, and Yosemite National Park itinerary and make it a Yosemite, Kings Canyon, and Sequoia National Park itinerary.
However, I think it’s best to start with Sequoia National Park. That’s not because Sequoia National Park is a bad park, but rather, it’s the least impressive of the three parks on this list. We started with Sequoia National Park and as the trip went on, the scenery and activities just got better and better. I think if you start with Yosemite National Park, the later parks just won’t be as amazing.
In the end, it’s your choice, but I highly recommend starting with Sequoia National Park, then going to Kings Canyon National Park, and making Yosemite National Park your grand finale.
Final Thoughts
I absolutely loved this itinerary. My mom and I both agree that this is one of the best trips we’ve ever taken together. Our top spot goes to our 10 day trip through the American Southwest. Then I put this trip at number 2, my mom puts at at number 3. The point being, the scenery is phenomenal, the hikes are fun, and there is just so much to see and do in this one small area of the United States.
So, if you’re looking for your next epic road trip, check out this California national park itinerary. You won’t regret it.
Continue Your Adventure
Sequoia & Kings Canyon: Learn all about the top things to see at Sequoia National Park and Kings Canyon National Park. Plus, plan your one day at Sequoia and one day at Kings Canyon. If you’re short on time, combine Sequoia and Kings Canyon into one day.
Yosemite National Park: Take your pick of hikes at Yosemite National Park, including Columbia Rock. If you’re not a hiker, check out my guide for how to enjoy the park without hiking. Plus learn how to spend one day or two days at the park.
Similar Itineraries: If you’re after US national park road trips, try my one week trip to Death Valley and Joshua Tree. With ten days, you could road trip through Colorado or head to Utah’s Mighty Five. With only five days, try New Mexico and Texas, the Black Hills and Badlands of South Dakota, or even a mini trip through Arizona.
US National Parks: Start planning your national park vacation with my US National Park Travel Guide. You’ll find information about each park, photos, itineraries, budget tips, advice for non-hikers, the best scenic drives, and more. Plus, don’t forget to book your timed entry reservations in advance!

Hello – Curious to see if this itinerary can be modified slightly, and cost per person.
This itinerary is just a guide. Since we’re not a travel agency and everyone will have to make their own travel arrangements, each traveler can make customize for their own preferences. In fact, my own trip was a modified version of this itinerary (I only had six days instead of seven). The itinerary I laid out is what I’d recommend for most travelers visiting this region for the first time, but everyone is free to customize and tweak it however they want.
As far as the cost of a trip like this, you’ll have complete control over the costs since you’ll do your own booking. That said, it’s not a cheap trip. I found accommodation to be the biggest budget breaker because the area around Yosemite National Park has few budget hotels and that can really drive up your cost. When I went in September 2024, we averaged about $260 per day for two people (so $130 per person per day) for hotels, rental car, gas, and food. We could have made it slightly cheaper by staying in more budget hotels, but we also could have easily made it more expensive by staying in nicer, better located hotels.