Glacier National Park is stunning and quite frankly, it’s one of the prettiest national parks in the United States. While you can of course get out and hike to explore this beauty, one of the best ways to explore the park is to drive Going to the Sun Road. This road connects Apgar in the west to St. Mary and takes you up through the mountains and passed some incredible scenery.
While you could just drive Going to the Sun Road, there are plenty of interesting stops that you can make. In this guide, I’m going to outline the best stops so you can plan your perfect trip along Going to the Sun Road.
The Best Stops on Going to the Sun Road
If you get a map from one of the visitor centers, you’ll likely find 29 marked stops on the Going to the Sun Road. While I do plan to talk about the highlights, it’s important to note that I won’t have as many as the National Park Service. There’s a good reason for that and that is that I am skipping most campgrounds (Apgar, Sprague Creek, and St. Mary Campgrounds will not make my list). I’m also skipping two visitor centers (the Apgar and St. Mary Visitor Centers) that mark each end of Going to the Sun Road.
Additionally, I’m skipping two tunnels. The West Tunnel and East Tunnel exist and are impressive to think about in terms of engineering, but I found them to not be worthy stops themselves. Honestly, it really just helped to give a a reference point to where in Glacier National Park.
But enough talk on logistics, let’s talk about the best stops on Going to the Sun Road.
As a note, this list is ordered by geography. We’ll start in the west and list out all of the stops as you drive east.
Lake McDonald
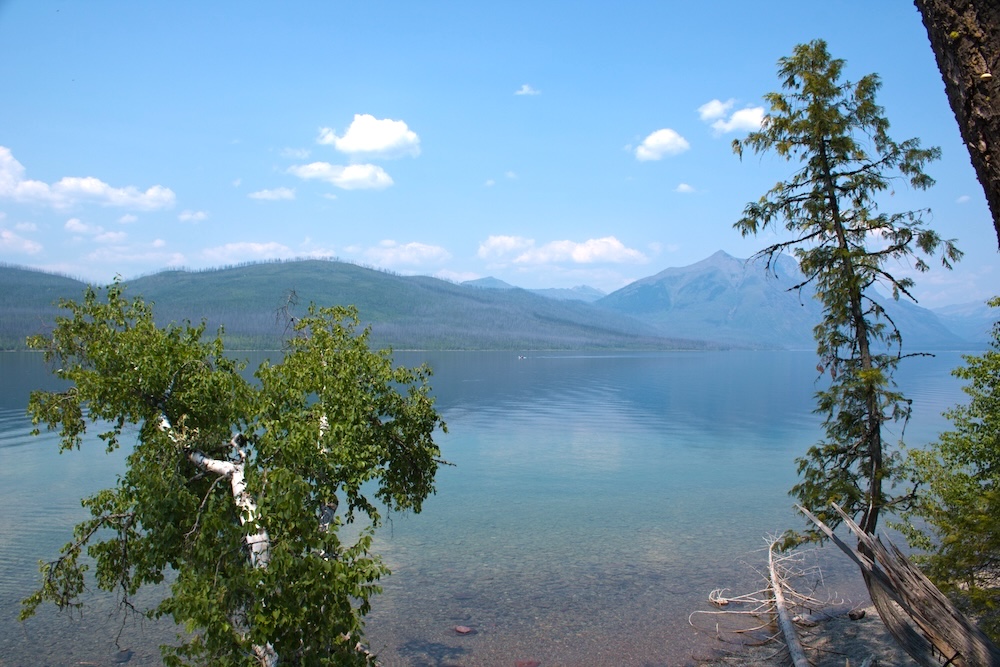
If you start from the west, Lake McDonald is the first lake you’ll come across. You’ll actually find yourself driving along the lake for the first part of your journey, so don’t worry too much about getting that one good picture from the lake right at the start of your trip. You’ll have plenty of opportunities to do so.
If you’re looking for a place to stop though, consider the Lake McDonald Lodge which has toilets and a boat dock, and therefore some decent parking. You’ll also find boat tours here. I can’t speak to the boat tours on Lake McDonald (since I skipped these), but I did take a tour on St. Mary Lake (on the eastern end of Going to the Sun Road) and loved it.
McDonald Falls
McDonald Falls is not actually listed as a major point of interest in the brochure for the park, but it’s a nice stop all the same. I think if you’re traveling eastbound this can make a really nice stop but I’ll be honest, since I was driving westbound, this waterfall wasn’t as impressive as some of the other waterfalls we passed throughout the day. It’s still nice and I think it’s worth either stopping at McDonald Falls or Sacred Cascade Falls.
Sacred Cascade Falls
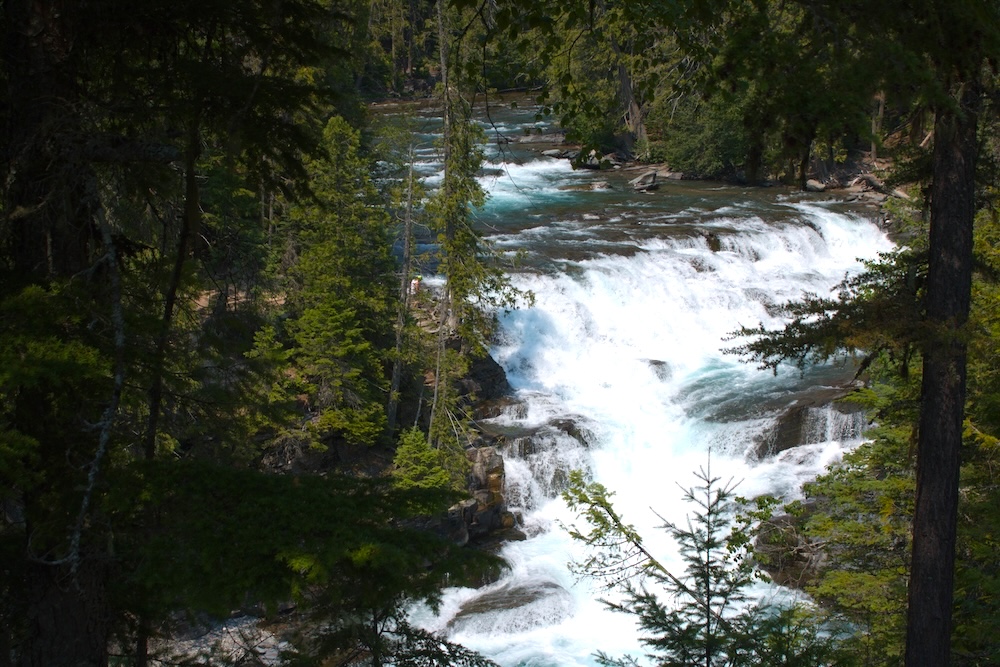
Here’s another waterfall, not too far up the road from McDonald Falls. Like McDonald Falls, Sacred Cascade is not listed as one of the stops in the park brochure. I’m not sure why, but this is another waterfall you can check out. Admittedly, we missed this stop as we couldn’t find a parking spot and didn’t feel like stressing to find one (we instead stopped at McDonald Falls). From what I saw from the road though, it looked nice.
My advice still remains the same though, try to stop at either McDonald Falls or Sacred Cascade Falls (or even both).
McDonald Creek Overlook
In general, I think McDonald Creek Overlook is skippable. However, I visited in mid July and based on what I’ve read, this may be more impressive earlier in the season when the creek current becomes filled with snow runoff and debris. Later in the season, like when I visited, it was just a calm creek and honestly it wasn’t much different to what I could find back home.
Avalanche Campground/Trail of the Cedars
My big reason for including the Avalanche Campground is not for the campground, but for the hiking trail that departs from here. The Trail of the Cedars is a one mile loop with minimal elevation change that makes it ideal for hikers of all abilities. In fact, this is one of the very few trails that the NPS has marked as accessible.
Most of the trail is on a boardwalk, although there’s a few bits where you’re walking along the forest floor. The draw here is to walk through the forest of cedar trees and get a glimpse of a waterfall. It’s a nice trail, but it’s not my favorite at Glacier National Park. That said, this trail is nice and it felt so different from the other trails (and scenery) I visited at Glacier National Park. I’ve read that Trail of the Cedars feels more like it belongs in the Pacific Northwest, and I can understand that comparison. This trail felt very different from everything else I saw at Glacier National Park.
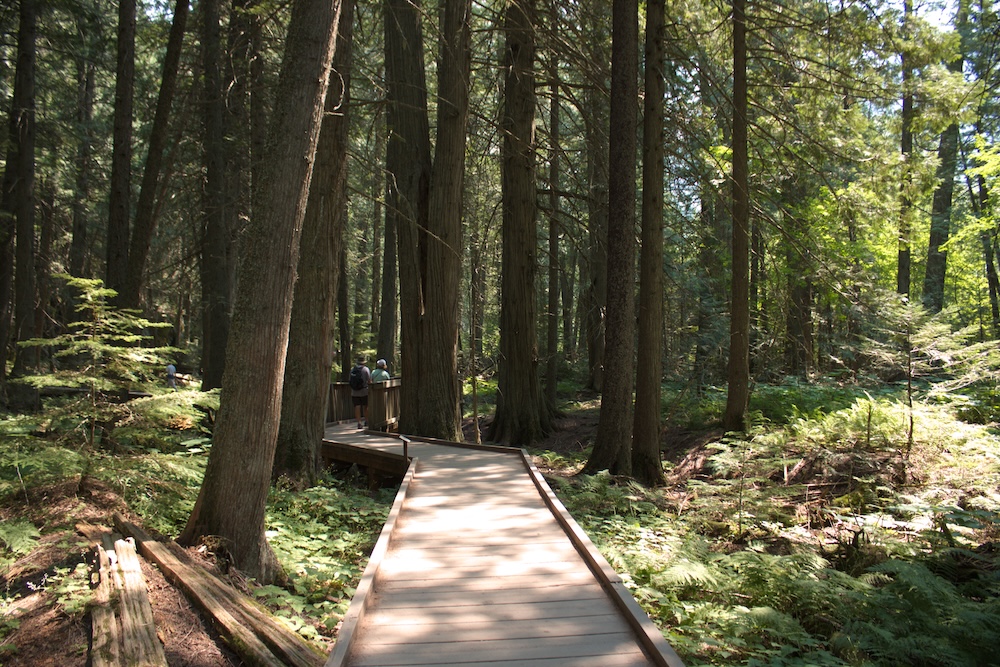
Note that parking at Trail of the Cedars can suck. There are many spots, but they fill up quickly so don’t be surprised if you have to add a little bit extra to your hike just so you can get to the trailhead. That said, note that there are two trailheads. They both connect to the same trail, but start at different points (Trail of the Cedars is a loop), meaning you don’t have to walk along the busy Going to the Sun Road to get to the trailhead.
The Loop
Despite Going to the Sun Road being a road through the mountains of Glacier National Park, there’s fewer hairpin turns than you’d expect. In fact, there’s only one hairpin turn in the entire road and that point in called The Loop.
While you could stop here for a photo op, the views are just ok, compared to what you’ll find on the rest of Going to the Sun Road. Personally, unless you are planning to do a hike from The Loop, I wouldn’t stress about finding a parking spot (we couldn’t find one either).
Bird Woman Falls Overlook
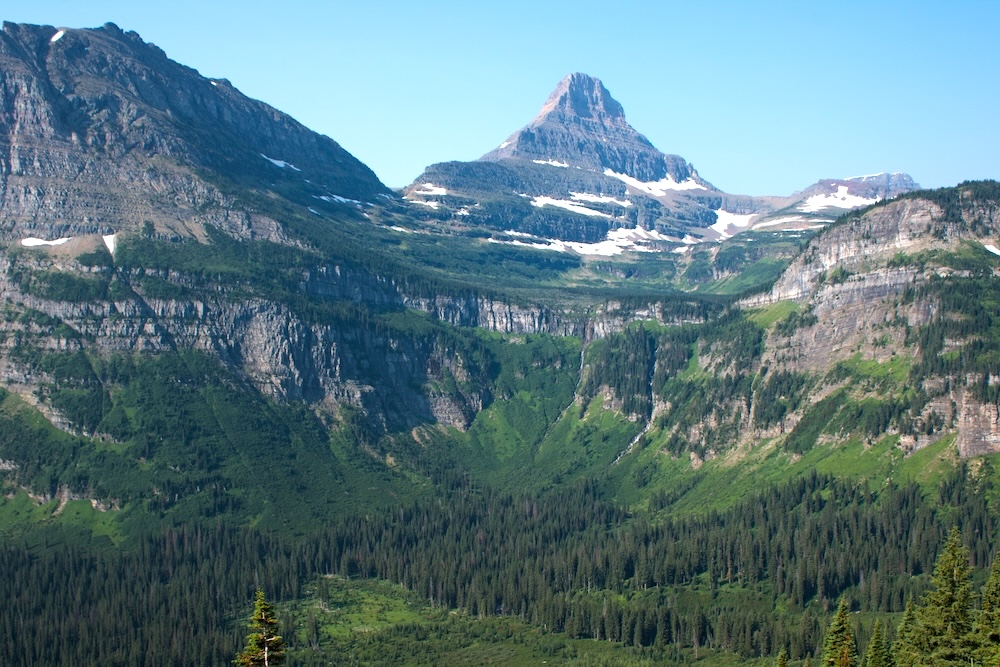
Bird Woman Falls Overlook unsurprisingly takes you to a place where you can see Bird Woman Falls. This waterfall is nearly 500 feet tall and sits in the valley between Mount Oberlin and Mount Cannon. The views are great and this is definitely a stop that I recommend including on your itinerary.
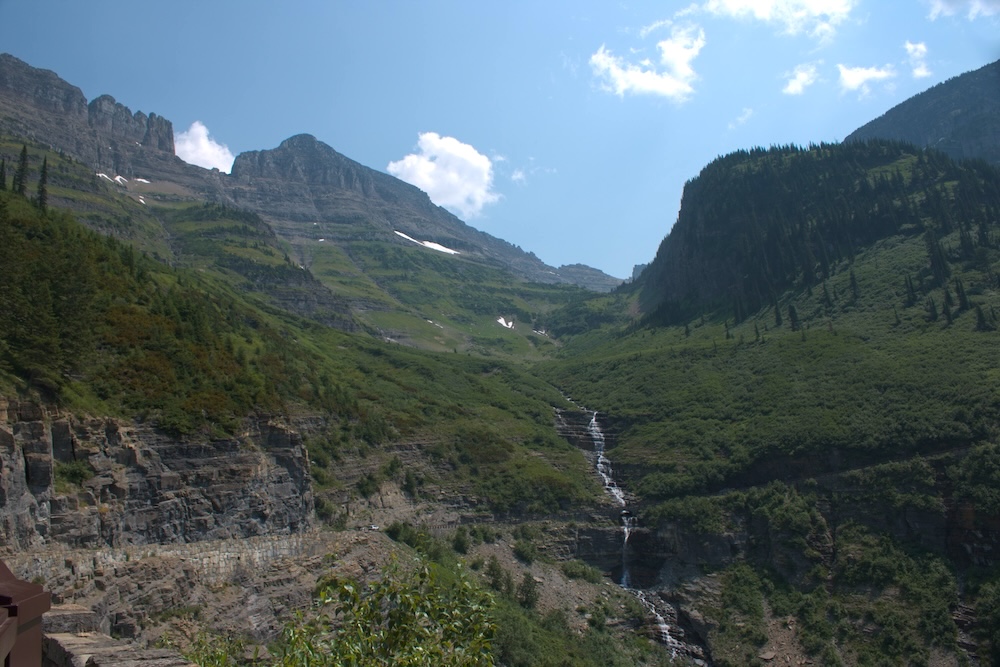
Weeping Wall
Whether or not you’ll be impressed with the Weeping Wall depends on when you are visiting Glacier National Park. This wall is wet with water falling down from the snow melt of the mountains above. During the spring time, you’ll want to roll up your car windows to avoid getting wet. However, I visited in mid July and found myself disappointed.
The park brochure describes this as a “gushing waterfall in spring”, but that definitely wasn’t the case when I drove Going to the Sun Road in July. I rolled my window up per the advice and would not have needed to. There was a little water falling, but not enough to touch us inside the vehicle.
As a note, this is a drive by kind of stop. There is no parking at Weeping Wall, so use it as a marker to keep track of where you are on Going to the Sun Road.
Big Bend
At the Big Bend Overlook, you’ll be able to see Mount Cannon, Mount Oberlin, and Heaven’s Peak. The park describes Big Bend as “one of the most spectacular view from the road”. I can get behind this statement. Big Bend is not the overlook that I rated the highest, but my dad and I still gave Big Bend a solid 11/10 on our rating scale (the top view point got a 12/10).
This is a stop that you’ll want to try to make.
Triple Arches
If you’re driving from east to west (like us), you’ll need to double back if you want to see Triple Arches since it’s only visible for travelers going east. Triple Arches is more about impressive engineering than scenery. As you approach from the west, you’ll see a series of three arches supporting the bridge on Going to the Sun Road. It’s impressive to thinking about (although all of Going to the Sun Road is impressive to think about).
That all said, I don’t think it’s necessarily worth doubling back for. We did, just because we were curious, but both my dad and I agreed, that it’s skippable. There’s not really a place to stop so be prepared to look at it from the car as you drive Going to the Sun Road.
Oberlin Bend
Remember how I said Big Bend got an 11/10 and still wasn’t my favorite view on Going to the Sun Road? That’s because my dad and I both agreed that Oberlin Bend was a solid 12/10 on our rating scale. This view was my favorite of the day because of how expansive it is. From the parking lot, walk along the short boardwalk to reach an outstanding view of Going to the Sun Road. You’ll see cars traversing the road as well as the amazing scenery around it. The park mentioned looking for mountain goats, but we didn’t see any. That’s ok because the view was that good.
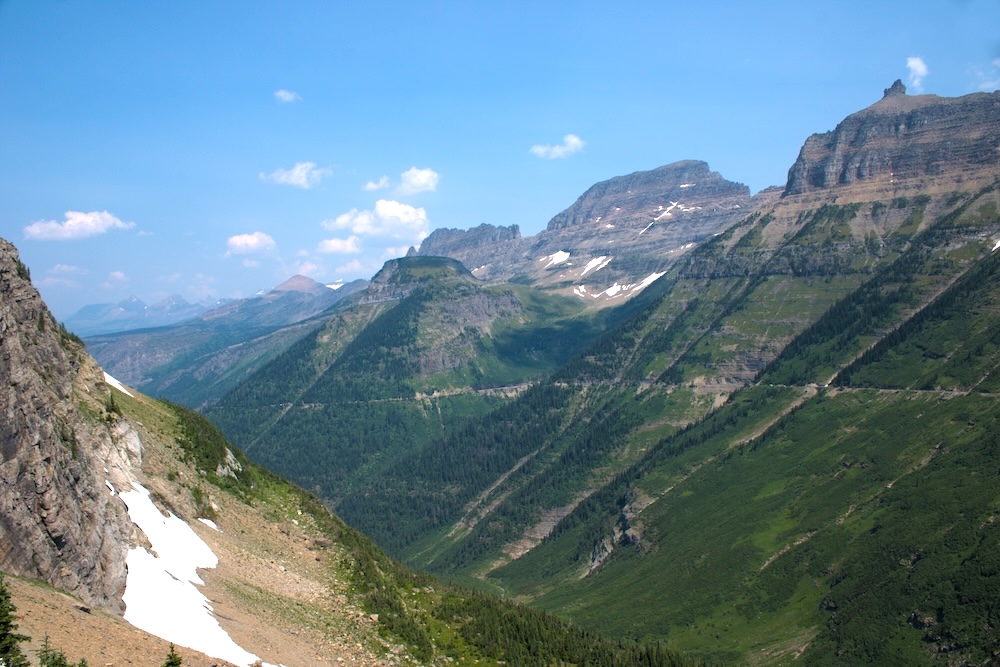
Parking is limited so getting a spot can be tricky. If the lot is full, you may need to try again later. However, I think it is totally worth stopping at Oberlin Bend, so double back if you can’t get a spot on the first try. My dad’s parking advice is “bring a traffic cone and make your own parking space” so you can see this viewpoint. I can’t really recommend doing that, but I do recommend making this stop a priority on your trip along Going to the Sun Road.
Logan Pass
Logan Pass is the highest point on Going to the Sun Road and can be one of the busiest areas. It’s not just a mountain pass, because you’ll also find the highest visitor center at Glacier National Park here. Plus, there’s loads of hiking trails that leave from here.
So here’s the sucky part about Logan Pass. Parking is limited and fills up fast. Yes, the Logan Pass Visitor Center has a large parking lot, especially compared to many of the other overlooks along Going to the Sun Road. However, since several hiking trails that leave from here, it fills up fast because of hikers getting an early start. We arrived before 10am on a Sunday and there wasn’t a spot to be found (but plenty of people were still looking). Later, rangers blocked off entrance to the parking lot entirely, only letting people in if they were picking up passengers.
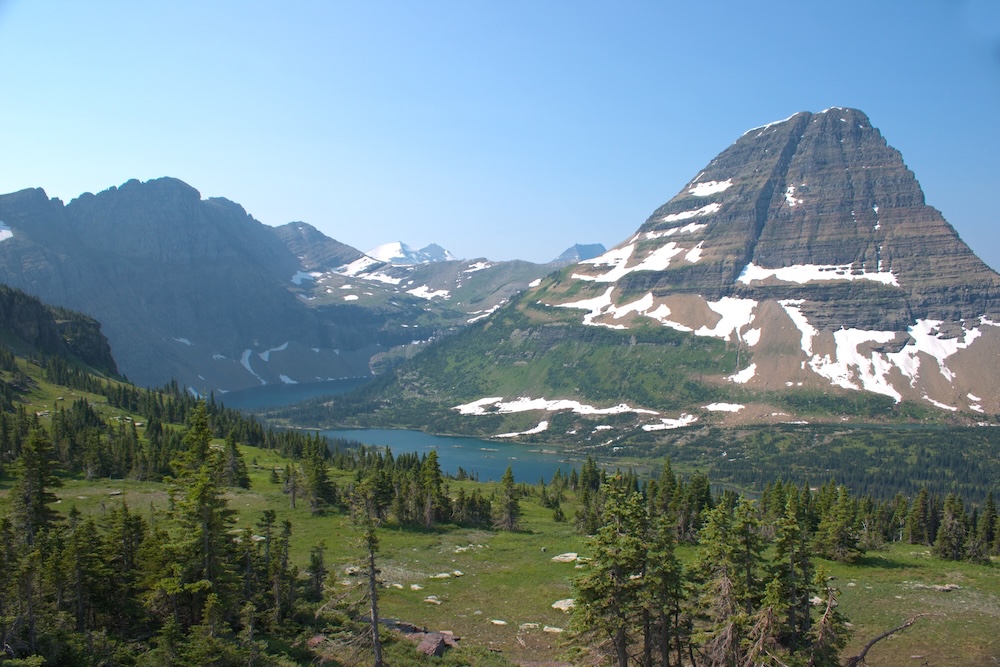
I didn’t do a lot of hiking on this trip to Glacier National Park, but I did squeeze in the hike to Hidden Lake Overlook. This is just one of the hikes that leaves from the Logan Pass Visitor Center. The trail is about 2.7 miles round trip and has about 500 feet of elevation gain. I’d call it a moderate trail just because it’s a steady climb up the entire way to the overlook.
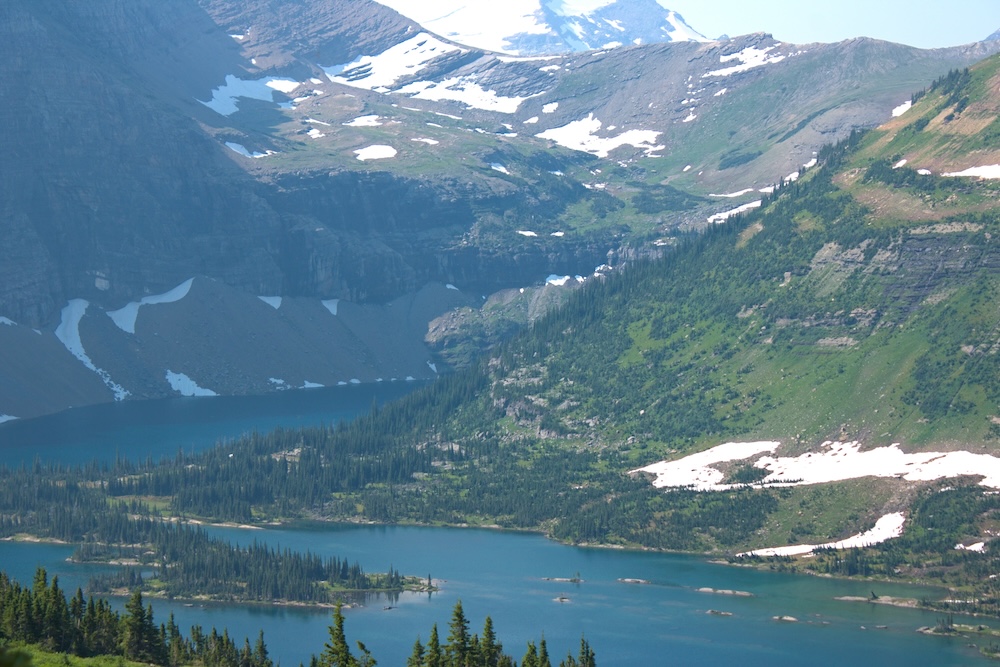
The views all along the trail were amazing and this was one of my favorite experiences at Glacier National Park. However, the parking situation became a challenge. I hiked this trail solo, despite the fact I was traveling with my dad. Our goal was to find a place for him to park at the visitor center, but that didn’t work. So, he dropped me off, I hiked as fast as I could up the trail, and then we met back up about an hour later. Meanwhile, he went to find an overlook to just relax and enjoy the scenery.
My goal in telling you this is that you do some thinking about your own trip. If you have plans to hike one of the trails leaving from Logan Pass Visitor Center, you need to get to arrive early. And if you don’t think you’ll be able to arrive early, you need to have a contingency plan.
That may mean that someone in your group doesn’t hike, you skip the hike altogether, or you utilize the park shuttle. My suggestion for those hiking would be to drive straight to the Visitor Center (arriving as early as possible), hike your trail, then back track the way you came and start the drive all over again. No, that’s not ideal or efficient, but with the parking situation at Logan Pass, that’s reality.
If you don’t have plans to hike from the Logan Pass Visitor Center, I wouldn’t stress too much about stopping. Yes, they have plenty of information and there are some really good views, but depending on the time of day, the parking lot can be a stressful nightmare.
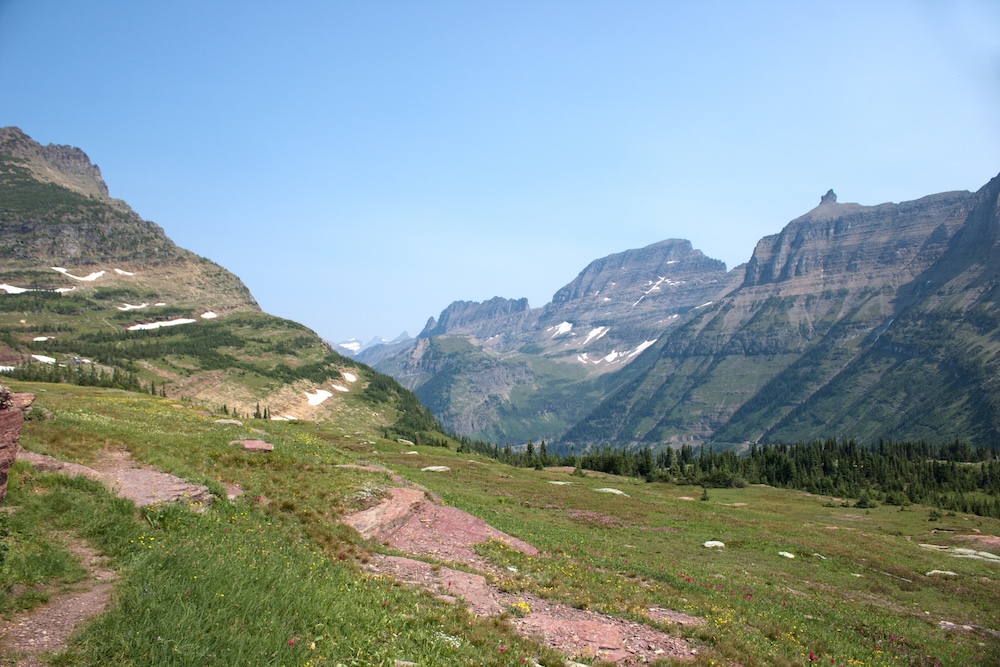
Lunch Creek
Lunch Creek is also an area with very limited parking. So limited that we tried backtracking for this stop, but still couldn’t find a place to park. So, we settled for driving really slowly past (since there was no one behind us). While it’s true we couldn’t get out and experience Lunch Creek properly, we were only marginally impressed.
Lunch Creek was nice. It’s a rock staircase with water flowing down. However, I just couldn’t really appreciate it from the car. My hope is that if you stop and are able to get out and really experience it, you will rate it higher than we did.
Siyeh Bend
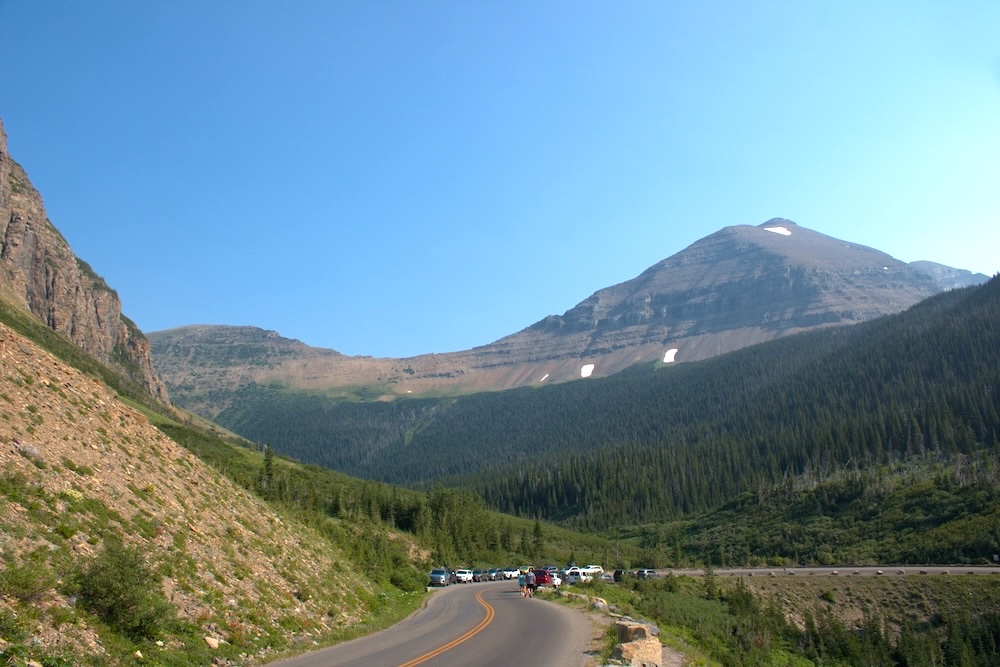
Going to the Sun Road traverses Glacier National Park which has sub-alpine vegetation in the west and more forests in the east. Siyeh Bend marks the transition between these two areas and wow does it lead to some amazing views. This was another stop that we marked as an 11/10.
Siyeh Bend is the starting point for many hikes. In fact, this is all that the national park really says about it. So, we planned to skip this Siyeh Bend, but quickly realized what a mistake this would be. We came around the bend and went “wow!” and immediately started looking for a spot to park so we could stop and enjoy the view. Even if you don’t plan to hike at Siyeh Bend, it’s worth a stop because the scenery is that beautiful.
Jackson Glacier Overlook
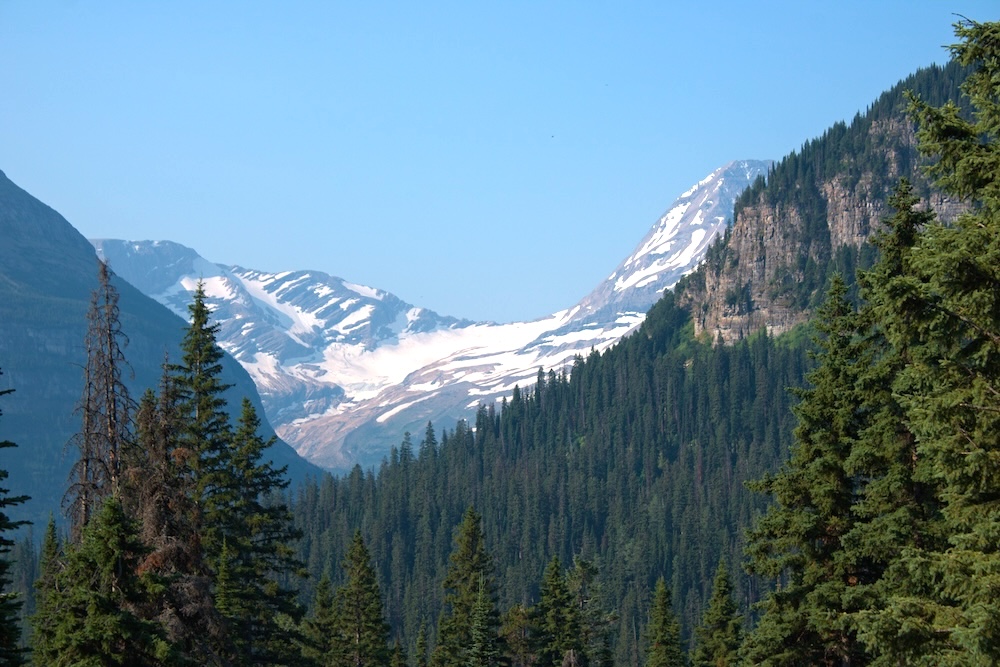
The number of glaciers in Glacier National Park is rapidly decreasing due to climate change. While there are still some glaciers here, you won’t be able to see many from the road, so if you want to see glaciers, be ready to get out and hike. There an exception and that’s Jackson Glacier, which can be seen from the Going to the Sun Road. So, if you want a chance to see a glacier, stop at Jackson Glacier Overlook.
The scenery is ok, but the only to reason to stop here, in my opinion, is for your chance to see Jackson Glacier (aka the only glacier you can see from Going to the Sun Road).
Gunsight Pass Trailhead
Here’s an area that we skipped entirely. This is a trailhead and there’s not much more here. The Gunsight Pass Trail is listed as strenuous since you climb to the Continental Divide. The payoff though is reportedly some amazing mountain views.
If you don’t plan on hiking, just skip this stop.
St. Mary Falls
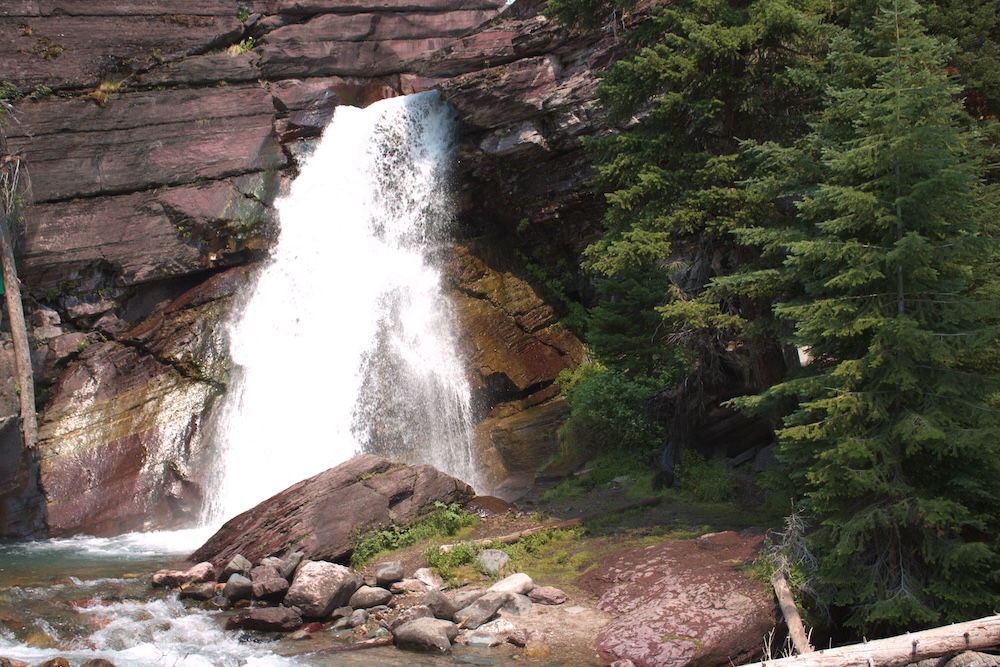
If you’re looking for a hike to the waterfall, consider a stop here. In fact, if you get out on the trail here, you’ll have a chance to see multiple waterfalls. It all depends on how much you want to hike.
The hike to St. Mary Falls is a 2.2 mile round trip, but you could extend it to Baring Falls. Or if you have someone who’s not hiking, consider a one way hike from St. Mary Falls to Sun Point, which is only 2.4 miles and takes you to the next stop on this list.
Admittedly, I skipped this trail. On another trip, I may have done it, but since I was traveling with my dad, I tried to keep our hiking to a minimum. So since I hiked to Hidden Lake Overlook, St. Mary Falls got skipped. However, we did make it out to Baring Falls via our boat tour (which cut out the vast majority of the hiking since we were able to approach from St. Mary Lake instead of Going to the Sun Road) and that was awesome.
Sunrift Gorge
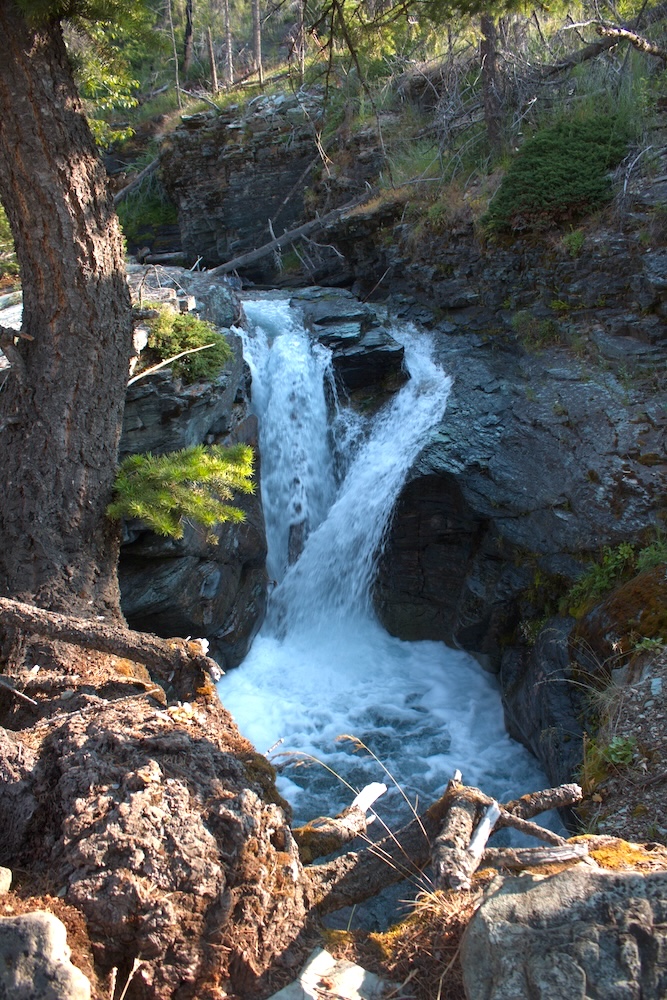
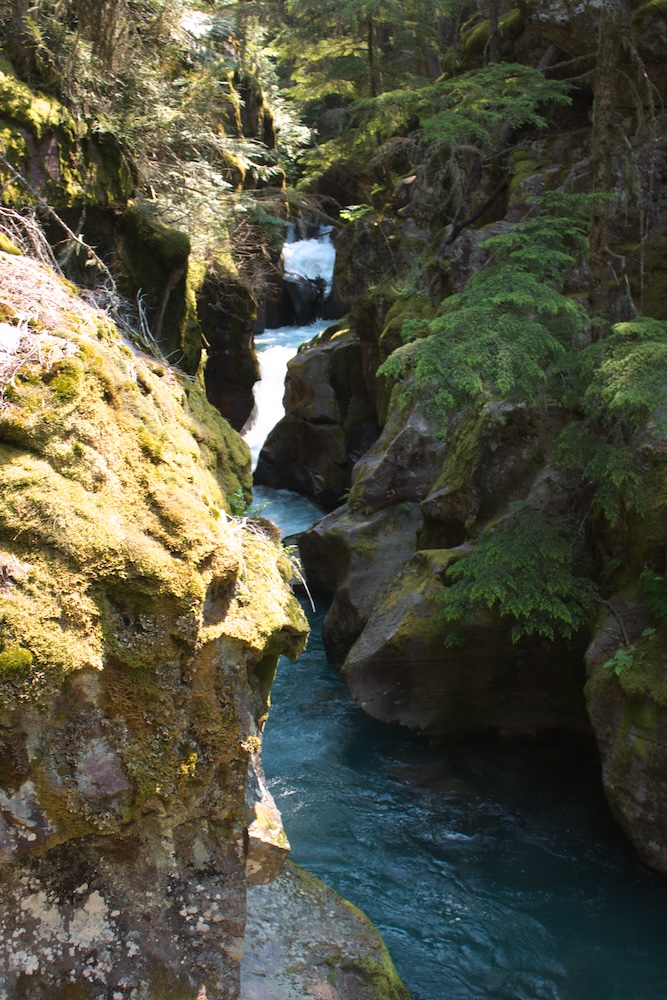
From the parking lot at Sunrift Gorge, cross the street and climb the stairs. Your reward is a great view of a gorge with rushing water. Despite being on St. Mary Lake, you won’t actually see the lake as Sunrift Gorge is on the other side of the road. If you’re interested, you can take the trail and continue on to Sun Point or to St. Mary Falls.
This stop is beautiful and it’s definitely worth a visit.
Sun Point
Sun Point has some nice views of St. Mary Lake, but admittedly these aren’t my favorite views of the lake. At Sun Point, you’ll be at the former site of Going to the Sun Chalet. The chalet no longer exists, but the views of St. Mary Lake are still beautiful. Just imagine the view that the chalet visitors once had.
From this point, you’ll find several hiking trails, including one that takes you back to St. Mary Falls.
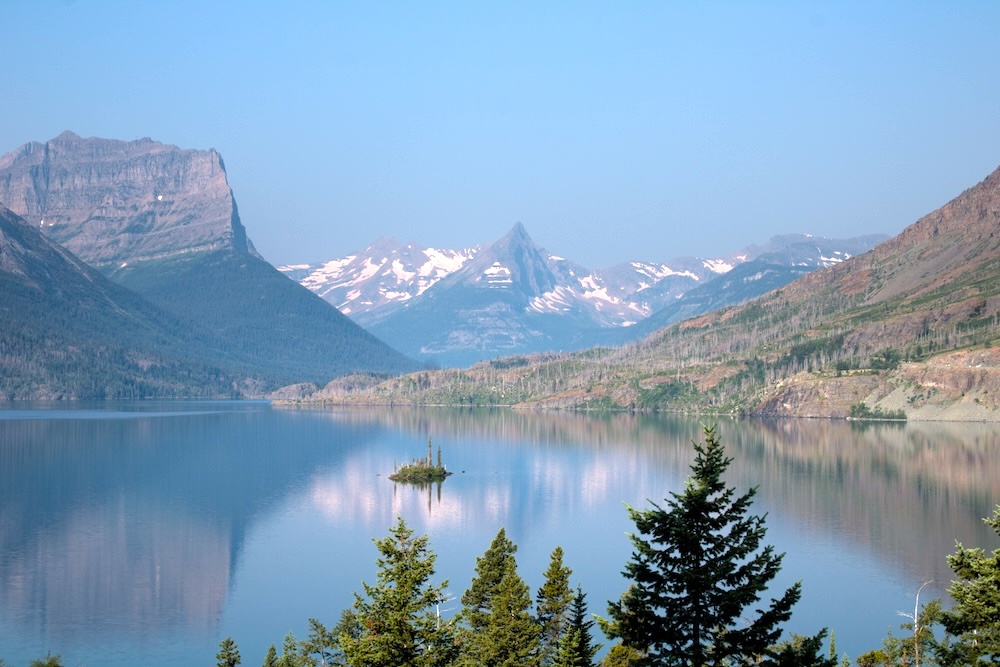
Wild Goose Island
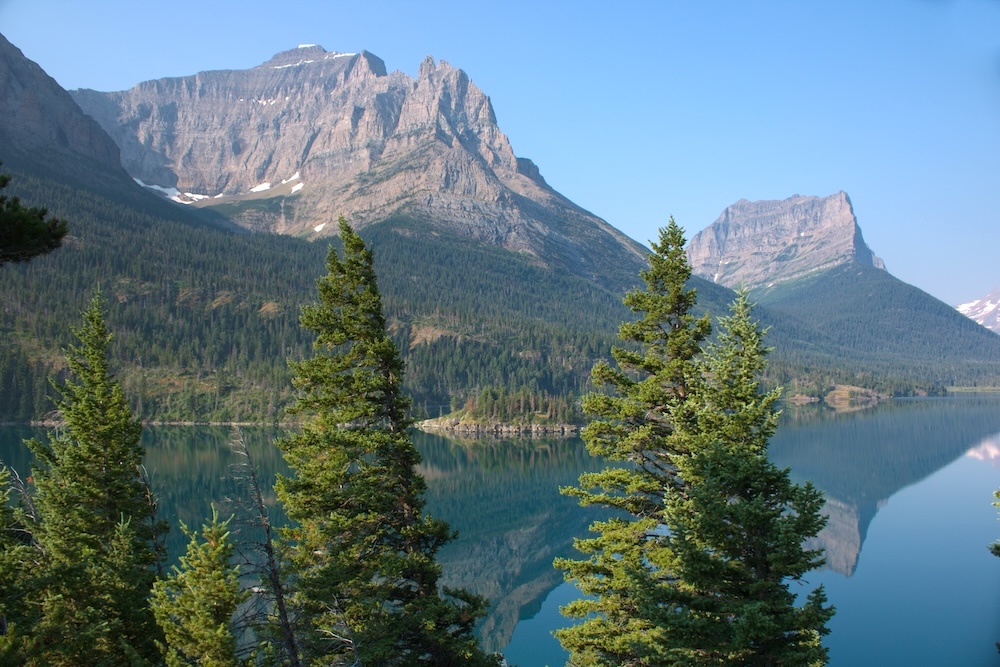
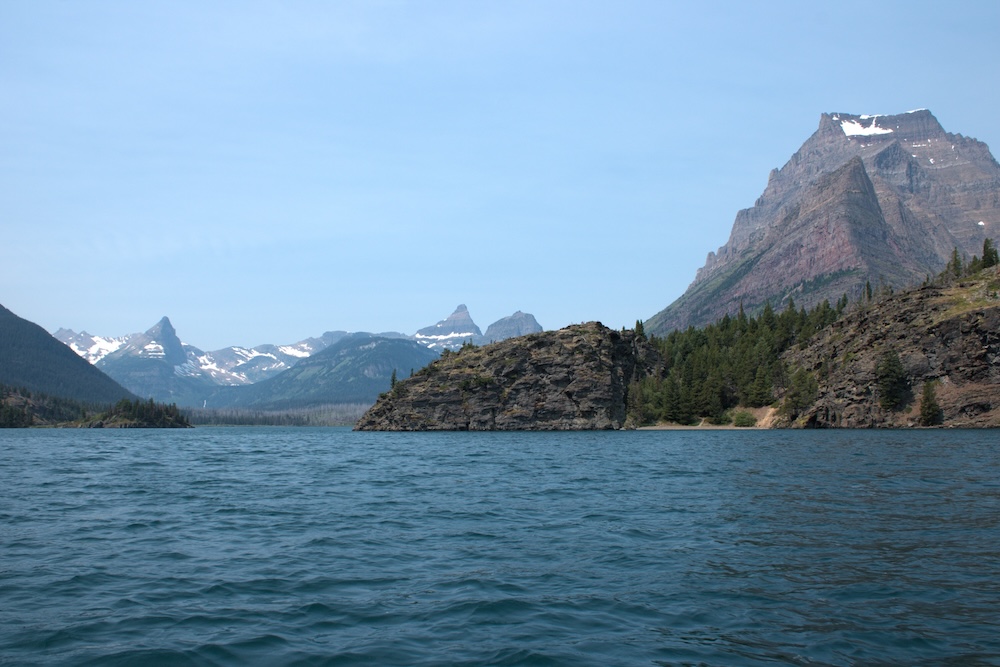
St. Mary Lake is deep – at almost 300 feet in some areas. However, there’s two instances where land spires breach the surface, forming tiny islands within the lake. Wild Goose Island is one of these areas and it makes an excellent stop along Going to the Sun Road. We actually saw Wild Goose Island from St. Mary Lake on our boat tour, but I think it was almost cooler from the overlook.
This was one of the first view points we visited (we entered from the east) and we gave it a 10/10, so now you can get a better idea of why there’s so many 11s and even a 12/10 on our rating scale.
Golden Staircase
Golden Staircase offers another view of St. Mary Lake. If you plan to stop here, plan to walk over some uneven surfaces to reach the main lookout, since you won’t be able to see much from the road.
We didn’t spend a lot of time at Golden Staircase since we were able to see this area on our boat tour the previous day. But if you aren’t taking a boat tour, this is a stop you should consider adding.
Rising Sun and St. Mary Lake
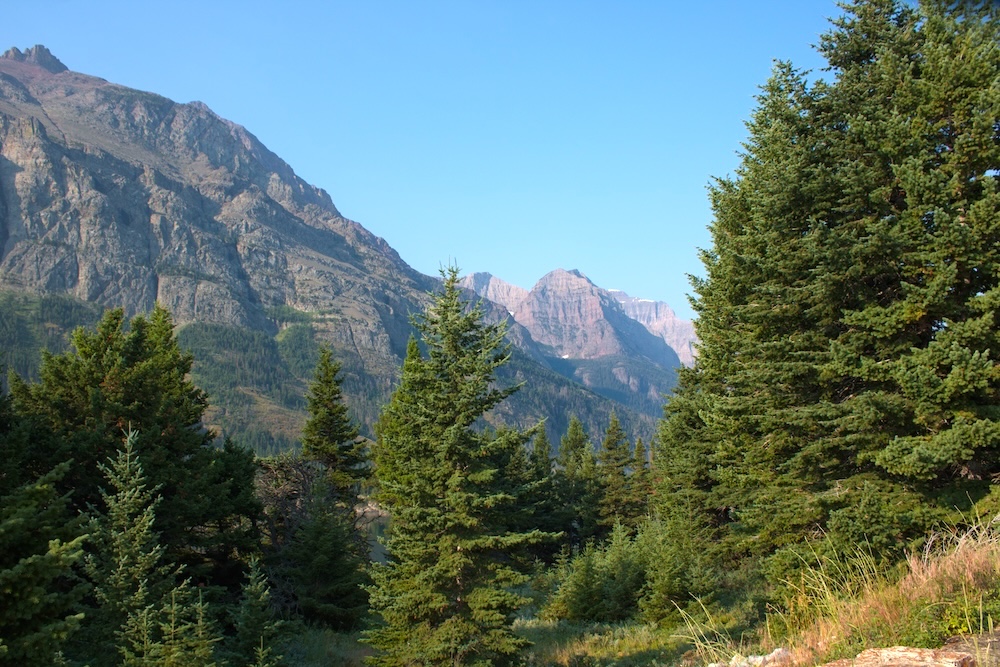
St. Mary Lake is worth a stop at some point as you drive along Going to the Sun Road. Yes, you’ll see it at Wild Goose Island and Golden Staircase, but at Rising Sun, you can actually approach the lake. You’ll also find boat tours departing regularly from here.
We skipped this area when we drove Going to the Sun Road, but that’s only because we did a boat tour of St. Mary Lake the day before. It was fantastic and it was a great way for my dad (who was doing all of the driving), to get a break and just enjoy the scenery.
It’s true that I only did the boat tour on St. Mary Lake (the same company also operates tours in Many Glacier, Lake McDonald, and Two Medicine), but I did really enjoy this tour. Not only do you spend time cruising on the lake, but you get some unique views. The bottom line is that I highly recommend looking into boat tours at Glacier National Park.
While I think Wild Goose Island was more impressive from the lookout point on Going to the Sun Road, I liked Golden Staircase much more from the boat. Plus, on our boat journey, we were able to take a brief excursion and walk to Barring Falls.
Two Dog Flats
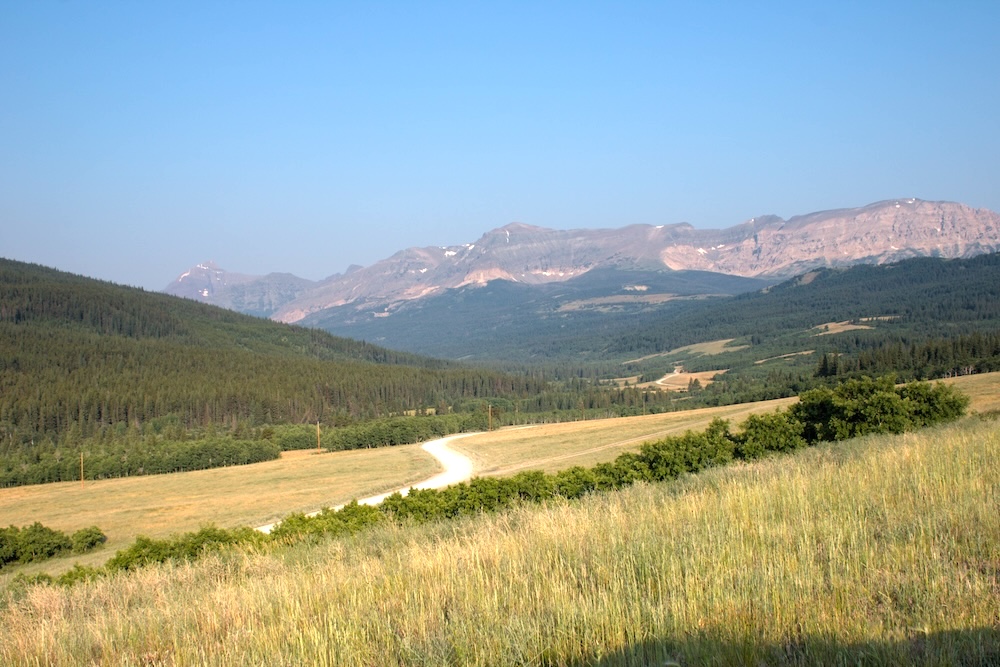
The last stop I want to mention is a stop that we didn’t actually make. Two Dog Flats is a rare flatland in the park. The big draw here is the chance to spot wildlife, but as my dad and I entered the park (remember we entered early in the morning from the east), we didn’t see anything, so we kept driving.
Ironically, later in the day, we met some other travelers who also entered from the east and raved about how much wildlife they saw. They didn’t say exactly where, but I’m willing to bet it was here since this would be the best spot to see what they were describing. So, it’s a bit of luck of the draw. If you see some wildlife, stop and check it out (at a distance!). But otherwise, the scenery really isn’t all that impressive compared to the rest of Going to the Sun Road.
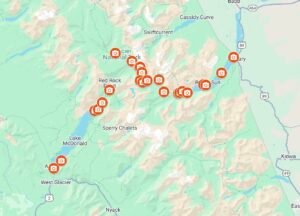
What are the Best Stops on Going to the Sun Road?
I would argue that almost every stop on this list is worth it, but some are better than others. In my opinion, the best stops are:
- Oberlin Bend
- Logan Pass for the Hidden Lake Overlook Trail
- Siyeh Bend
- Big Bend
- Avalanche Campground for Trail of the Cedars
Is Going to the Sun Road Busy?
Going to the Sun Road is arguably the most popular thing to do at Glacier National Park. That means that you need to expect crowds and pack your patience. While the National Park Service has implemented policies to try to help manage crowds (more on this later), it’s still something you need to be prepared for.
Parking is limited and you may not be able to get find a spot at every stop along Going to the Sun Road. For some stops, it’s worth moving on and trying again later (we did this on occasion) and others you may need to be content with skipping.
My best advice though is to get an early start. Crowds increase as the day goes on. The earlier you start, the more likely it is that you can find some peace and quiet in the beauty of Glacier National Park.
Should You Drive Westbound or Eastbound?
Going to the Sun Road is a two lane road and therefore can be driven in either direction. So, the question becomes, should you drive from west to east or from east to west? I have my opinion about which way is better to drive, but let’s start with some facts.
If you drive from west to east (ie, starting in Kalispell or Apgar), you’ll need to make a reservation prior to your drive if you plan to start between 6:00 am and 3:00 pm. I’ll cover more about timed entries shortly.
If you drive from east to west (ie, starting in St. Mary), you do not need a reservation. You can start your drive at any point during the day.
So I think that it really depends on what your travel plans are. As amazing as the road is, I’d only suggest driving it in one direction (just for efficiency).
So, if you’re like me and you’re staying in East Glacier (I stayed in Cut Bank, MT because we were on a budget), you can drive east to west and finish your journey in Kalispell. You could also do the reverse and start your drive in Kalispell and finish in St. Mary. This will significantly cut down on your driving.
If you are staying in Kalispell and want to be back in Kalispell at the end of the day, I’d suggest driving Going to the Sun Road to St. Mary but then taking the highway back.
Now, which direction is better? In my opinion, I’d say it’s best to drive Going to the Sun Road from west to east. I personally think the scenery is better on the eastern end of Going to the Sun Road than on the western end, so the views will just improve as you go. That said, I drove Going to the Sun Road from east to west and still had a lovely time. The scenery is incredible no matter what, so get out and drive it.
Timed Entry Reservations
As mentioned, if you plan to drive from west to east, you’ll need to purchase a reservation for Going to the Sun Road. This is to help cut down on congestion. While I’ve never been on Going to the Sun Road prior to the implementation of the reservation system, I can say that I do think that it makes a difference. There is limited parking at the the various stops along Going to the Sun Road and the road is a single lane road with no opportunities for passing. You just don’t want all that congestion on the road.
So, before you go to Glacier National Park, decide which day you’ll drive Going to the Sun Road. Then, you can go online and purchase your reservation in advance. Reservations go on sale 120 days in advance and cost $2 per vehicle.
Since I drove Going to the Sun Road from east to west, I did not need to get a reservation. However, I purchased another reservation for Glacier National Park (to enter Many Glacier). Those reservations went incredibly fast (nearly 300 reservations sold out in less than five minutes). So my advice is to be ready to purchase your ticket right when the go on sale.
If you do not get your reservation, you can try again the night before when the remaining reservations go on sale.
If you still don’t have a reservation, you’ll either need to clear the Apgar checkpoint before 6:00 am or after 3:00 pm if you are heading eastbound. Or, drive to St. Mary and enter Going to the Sun Road from the east and drive westbound.
Note that your reservation does not include your entrance fee to Glacier National Park. That must be paid separately.
Learn more and make your reservation.
How Long Do You Need to Drive Going to the Sun Road?
I recommend setting aside an entire day to drive Going to the Sun Road. Yes, the road is only 50 miles, but you’ll want to stop at the overlooks and maybe do a hike or two. My dad and I drove the road from east to west and it took us over six hours to get from St. Mary to Apgar. Sure, we took our time at the various stops and tried to stop at every overlook, but you’ll still want to make sure that you have plenty of time. The scenery is wonderful and it’s more relaxing if you’re not in a rush.
Without any stops, expect it to take two hours to drive Going to the Sun Road.
Tips for Driving Going to the Sun Road
My biggest tip is to get an early start. Going to the Sun Road is popular and the earlier you start, the fewer crowds you’ll have to deal with. We arrived at St. Mary just before 8:00 am and traveled east. Our first few stops had hardly any travelers. However, as the day wore on, more people were traveling and we had to fight for some parking spaces.
Secondly, pick up a map. There are free maps at the Visitor Center and I highly recommend keeping a map to reference where you are on Going to the Sun Road. Specifically, I used the map that came in the Glacier Visitor Guide. This newspaper like brochure that had tons of info about the park, including the highlights (and a small blurb about each stop) of Going to the Sun Road.
Next, take it slow. It’s a two lane mountain road. You don’t need to pass or travel at high speeds. Plus as you come up to the overlooks, watch out for pedestrians. There are people everywhere.
Be prepared to circle back. Parking is limited at several of the stops and you may not be able to get a spot. In those instances, you may have to move on and try again later. Yes it’s annoying, but there’s usually clusters of stops so in some instances, it’s really not a big deal to double back. Plus, you get to spend just a little more time taking in the scenery.
Vehicle Restrictions on Going to the Sun Road
While Going to the Sun Road is open to private passenger vehicles, there are some restrictions. Vehicles (including any trailers) that are longer than 21 feet or wider than 8 feet are not allowed on Going to the Sun Road. This is due to limitations of the road. There is a hairpin turn and some narrow, windy roads that make it very difficult for these large vehicle.
Also as a note, if your vehicle is over 10 feet tall, you may have some issues on parts of the road. Your vehicle won’t be explicitly banned, but there are some rock overhangs.
Alternatives to Self Driving
While I recommend self driving Going to the Sun Road so you can explore at your own pace, there are a two options for people who don’t want to drive the road themselves.
The first is to utilize the free park shuttles. These shuttles run seasonally and make stops at most of the popular points and trailheads along Going to the Sun Road. The shuttles are first come, first serve and run throughout the day during the peak travel season. Learn more about NPS Shuttles at Glacier National Park.
The second option is to take a Red Bus Tour. The Red Buses of Glacier National Park have been bringing tourists along the highlights of Going to the Sun Road for decades and are an iconic symbol of the park. While they aren’t cheap (some can cost $100 per person), they can take the stress out of planning and driving Going to the Sun Road.
My Experience on Going to the Sun Road
My dad and I spent one day on Going to the Sun Road. We entered St. Mary at 8:00 am and started our drive. Admittedly we skipped St. Mary Lake since we had been there yesterday, but we made it a point to stop at every view point we could.
The Logan Pass Visitor Center was insane and we couldn’t find a spot, so my dad dropped me off so I could hike the Hidden Lake Overlook Trail while he backtracked and found a viewpoint to wait at. Yes it was an hour to hike, but for my dad who has never seen mountains or scenery like this, he had no complaints at sitting at one of these viewpoints for an hour.
All in all, it took us about six hours to drive from St. Mary to Apgar. From Apgar, we continued on to Kalispell where we spent the night. This avoided backtracking and driving back to our starting point.
The views along the entire drive were fantastic. The weather was comfortable up in the mountains (about 80 degrees), but by the afternoon at lower elevations, it was closer to 100 degrees. We also had haze from wildfire smoke, which definitely affected the quality of my photos. I’m kind of bummed it wasn’t more clear (photos I’ve seen from other travelers are downright stunning), but even through the haze, you could still make out so much beauty.
Entrance Fees for Glacier National Park
Entrance to Glacier National Park is $35 per vehicle and is valid for 7 days. Annual passes, such as the America the Beautiful pass, are also accepted.
Note that you will also need a reservation if you plan to enter certain areas of the park during peak hours. Going to the Sun Road, North Fork Road, and the Many Glacier area typically need reservations (though this can change from year to year).
When Should You Visit Glacier National Park?
While you technically could visit Glacier National Park all year round, you should really focus your visit during the summer months. Going to the Sun Road is only open from late May through early October (exact dates vary year to year based on the weather). To have the best experience, plan your visit for the summer months.
I visited in mid July and while it was incredibly hot with temperatures reaching nearly 100 degrees near our hotel, up in the mountains of Glacier it was a very pleasant 80 degrees.
Where to Stay at Glacier National Park
There are numerous hotel options near Glacier National Park and it really depends on your itinerary where you stay.
Many people will recommend staying in the town of Kalispell, which is outside the western entrance of Glacier National Park. While you will find plenty of hotel options, these hotels can be pricey (like over $300 per night).
There are a handful of lodges in and near the park, but these are expensive and fill up fast. However, they offer some incredible views and easy access to Glacier National Park.
For a budget option, you could stay in the town of Cut Bank. This is a 60 to 90 minute drive from the eastern entrances of the park (driving time varies by which entrance you use). Hotels are very limited here, but I was able to spend two nights in a Super 8 motel for less than the cost of one night in Kalispell. Yes it added more driving, but the cost savings was so worth it.
Final Thoughts
Going to the Sun Road is absolutely amazing and in my opinion it’s the best thing to do at Glacier National Park. The views and scenery are incredible and there’s plenty of variety along the road to keep you interested. That said, Going to the Sun Road is incredibly popular, so make sure you are prepared and pack your patience.
Continue Your Adventure
Glacier National Park: Learn how to spend one perfect day in Many Glacier, St. Mary Lake, and Two Medicine. Use this five day itinerary as a great introduction to Montana and learn about my top budget tips. If you aren’t a hiker, I put together an entire guide for to enjoying Glacier National Park without hiking. Plus, start planning your trip with my Glacier National Park Travel Guide.
More Scenic Drives: Going to the Sun Road is one of the best scenic drives I’ve ever done, so if you’re looking for more, check out my guide to the best scenic drives in Colorado. At Great Smoky Mountains National Park, you can drive Cades Cove.
US National Parks: Start planning your national park vacation with my US National Park Travel Guide. You’ll find information about each park, photos, itineraries, budget tips, advice for non-hikers, the best scenic drives, and more. Plus, don’t forget to book your timed entry reservations in advance!
